As days sat relaxing on the beach with a book become a distant memory, we arrive at the last of the Rainbow Sock Collection’s patterns, the Violet Rainbow Socks. The series began by asking the question ‘What is the Perfect Basic Sock Pattern?‘ and finishes with the last post Conclusions – Rainbow Sock Collection.
Design Choices
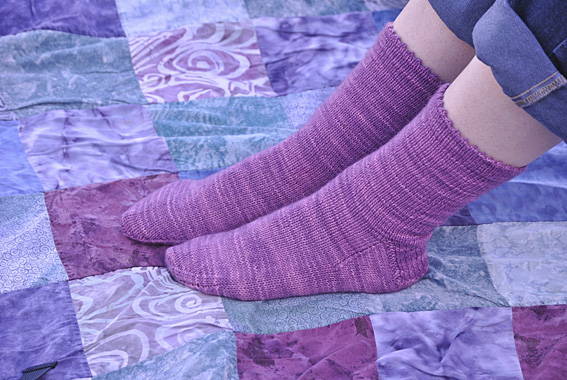
This elegant sock is knit using stocking stitch. It would be an ideal basic sock pattern for adding a pattern.
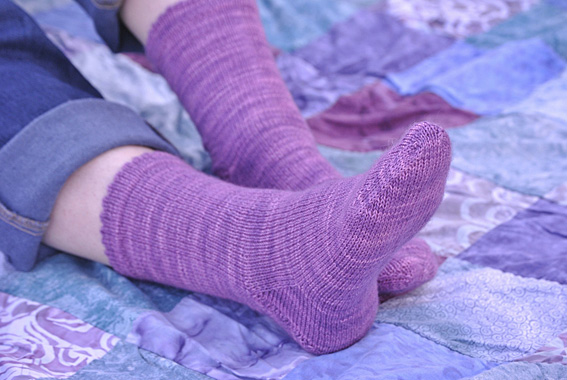
I used one of the semi-solid KS hand dyed sock yarn in Violet.
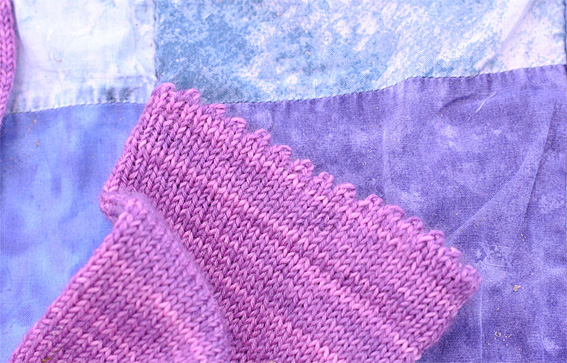
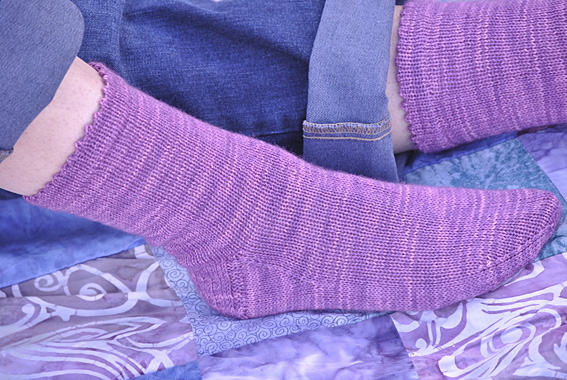
For this pattern, I wanted to use a picot edge for the cuff. I was curious to find out if this style of cuff would stay up on my leg without having the addition of any type of ribbing.
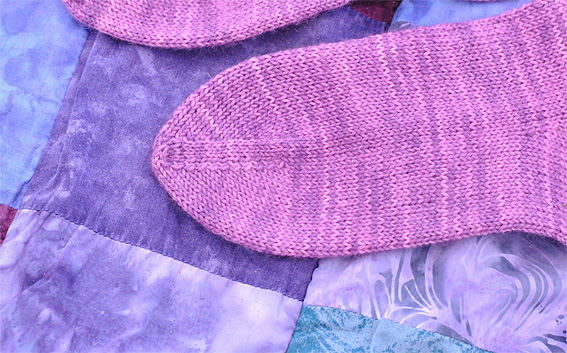
I was also keen to revisit the classic toe. This was a toe that I used on a couple of my first pairs of socks and ends with grafting stitches across the top of the toe. Soon after this I fell in love with the paired decrease toe, so I was interested to compare the two toe styles.
Violet Rainbow Socks Pattern
Please note that the Violet Rainbow Sock Pattern is a one size free pattern. The sock is easy to try on after the heel has been completed and while you are knitting the foot. The toe shaping is worked over a length of 6cm (2 3/8 inches) which will help you decide when to stop knitting rounds for the foot and still allow for some negative ease.
Yarn
- KS Sock Yarn in Violet
Needles
- 3.5 mm double pointed needle (dpn) for casting on
- 2.75 mm (set of 5) dpns for knitting socks
Tension
The tension for this sock is 20 rows and 16 stitches / 5cm (2 inch) square in stocking stitch (stockinette). 8 stitches / 2.5cm (1 inch).
Abbreviations
double pointed needle(s) – dpn(s); stitch(es) – st(s); knit – k; purl – p; knit two stitches together – k2tog; yarn over – yo; slip slip knit – ssk; purl two stitches together – p2tog;
Cuff
- Cast on 60 sts using 3.5 mm dpn and the Loop Cast On method.
- Join into a round as you knit the first round using 2.75 mm dpns, 15 sts on each needle.
- Picot Edging creates and elegant cuff for the sock.
- Knit 9 rounds of stocking stitch (when knitting in the round, knit all rounds).
- To create the Picot Edge: *k2tog, yo; rep from * to end.
- Knit 11 rounds in stocking stitch.
- Turn the cast on edge inside and fold at the picot edge line.
- Pick up the cast on sts, the loops are easy to pick up and I usually pick up 15 sts at a time. Then I knit each stitch along with a picked up loop at the same time. Repeat.
Leg
- Knit 52 rounds
Heel
Heel Flap
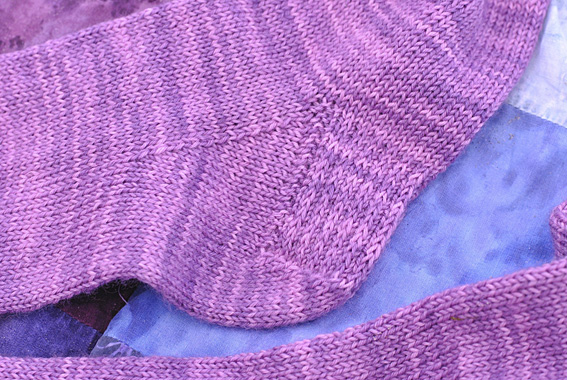
After finishing the leg you will be working the heel flap over half of the total number of stitches, working in rows rather than rounds.
On completion of the 52 round of the leg, turn and start the heel flap on a purl row.
- Row 1: k2, *sl 1, p1; rep from * to last 2 sts, k2
- Row 2: k
- Repeat rows 1 and 2 fourteen times more. A total of 30 rows.
Turn the Heel
- Row 1: p17, p2tog, p1, turn.
- Row 2: sl 1, k5, ssk, k1, turn.
- Row 3: sl 1, p6 (1 stitch remains before the ‘gap’), p2tog (combines the stitch before the ‘gap’ and the stitch after the gap), p1, turn.
- Row 4: sl 1, k7, ssk, k1, turn.
- Row 5: sl 1, p8, p2tog, p1, turn.
- Row 6: sl 1, k9, ssk, k1, turn.
- Row 7: sl 1, p10, p2tog, p1, turn.
- Row 8: sl 1, k11, ssk, k1, turn.
- Row 9: sl 1, p12, p2tog, p1, turn.
- Row 10: sl 1, k13, ssk, k1, turn.
- Row 11: sl 1, p14, p2tog, p1, turn.
- Row 12: k16, ssk, k1. (18 stitches)
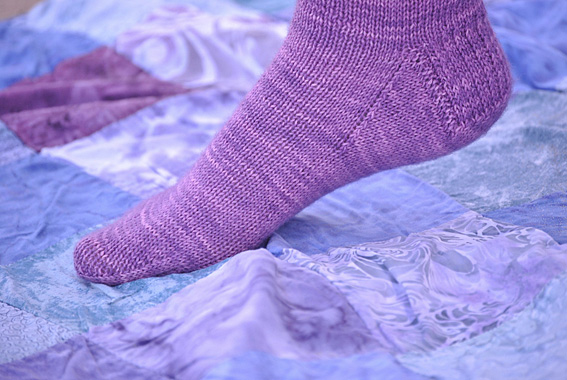
Gusset
- Pick up and knit 16 stitches along the edge of the heel flap.
- Knit across the 30 instep stitches.
- Pick up and knit 16 stitches along the edge of the heel flap. Then knit across the first 9 stitches of the heel.
This is the starting point for the following rounds.
Before you start the next round, slip the other 9 heel stitches onto needle 1. Needles 1 and 4 should have 25 stitches on each. Needles 2 and 3 should have 15 stitches on each.
- Knit 2 rounds.
Gusset Shaping
- Round 1: Needle 1: k to last 3 sts, k2tog, k1; Needles 2 and 3: k; Needle 4: k1, ssk, k to end of needle.
- Round 2: K
- Repeat rounds 1 and 2 until there are 15 stitches on each needle.
Foot
- Knit 41 rounds
Classic Toe
- Round 1: Needles 1 and 3: k to last 3 sts, k2tog, k1; Needles 2 and 4: k1, ssk, k to end of needle.
- Round 2: k
- Repeat rounds 1 and 2 until there are 4 sts on each needle. (16 stitches).
- Making sure that the stitches toe aligns with the heel, slip the stitches from needle 4 onto needle 1 and the stitches from needle 3 onto needle 2. 8 stitches on each needle.
- Graft the toe stitches using Kitchener Stitch.
Finishing the Violet Rainbow Socks
Weave in all loose ends. I washed and blocked these socks as I was going to photograph them. For socks knit using hand dyed sock yarn it is worthwhile washing them before wearing them to make sure that any excess dye is removed (particularly if they are a gift). You don’t want to find yourself with colourful feet.
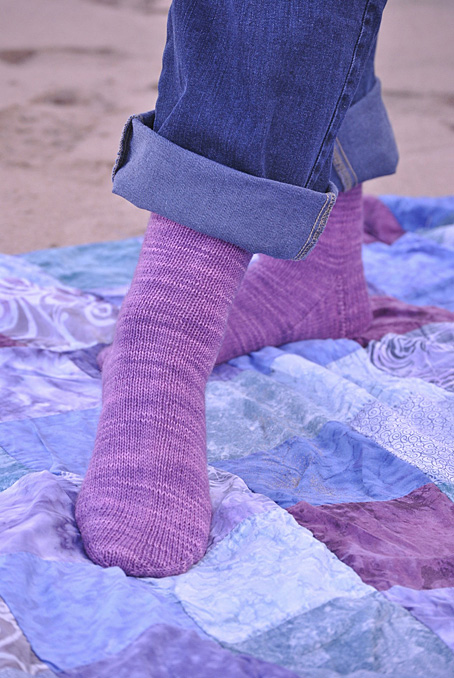
I love these socks. They are comfortable and look lovely on. Oddly, I think because of the cuff style, they look quite big when off.
Related Rainbow Sock Collection Posts
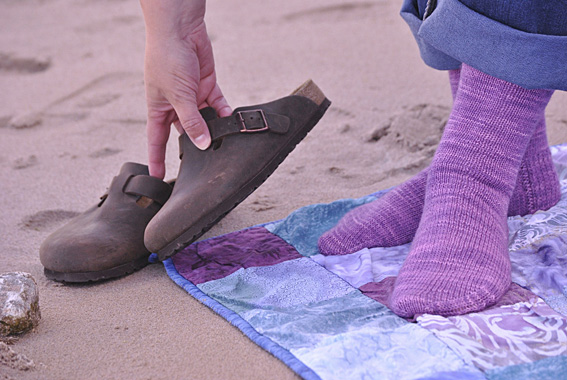
Photographs of the Violet Rainbow Socks were taken at White Rocks, Co Antrim, Northern Ireland.



I'd love to hear from you. Let me know what you think...