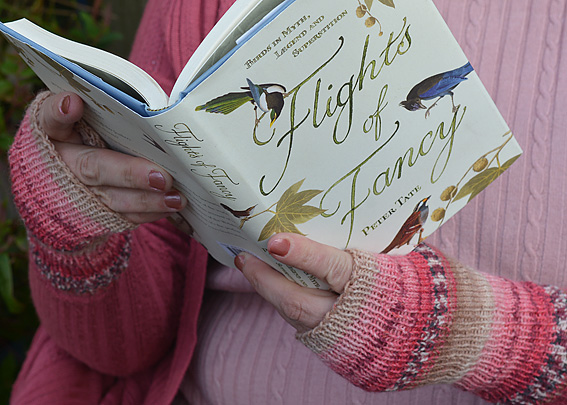
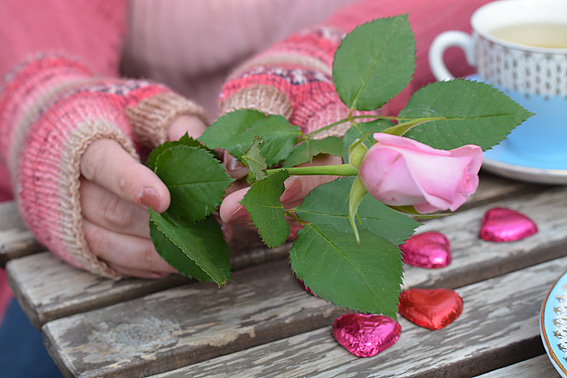
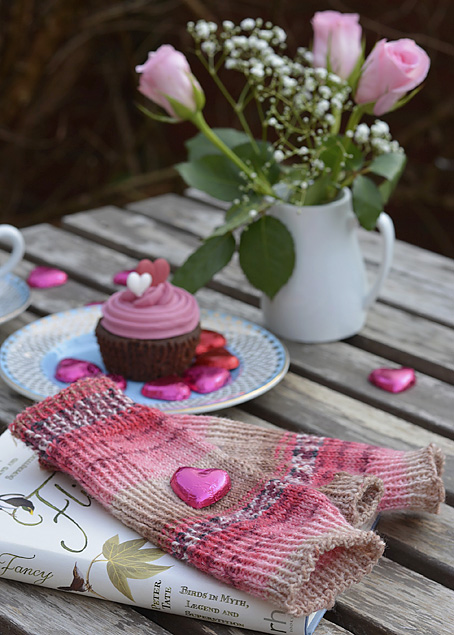
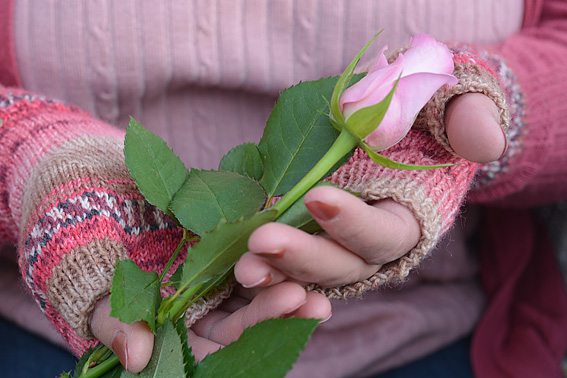
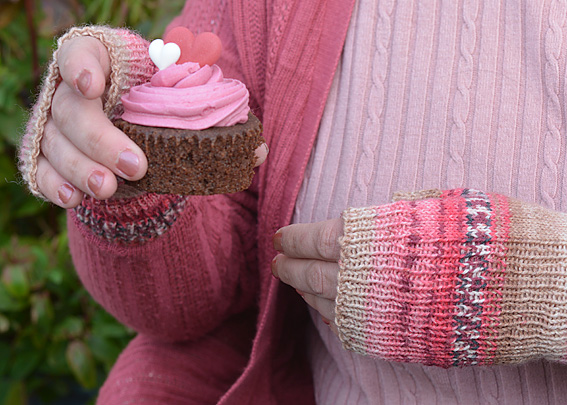
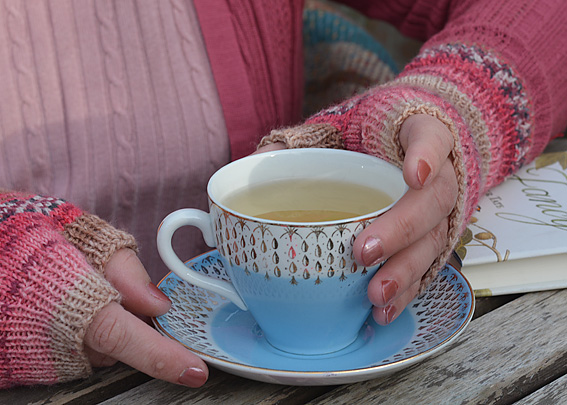
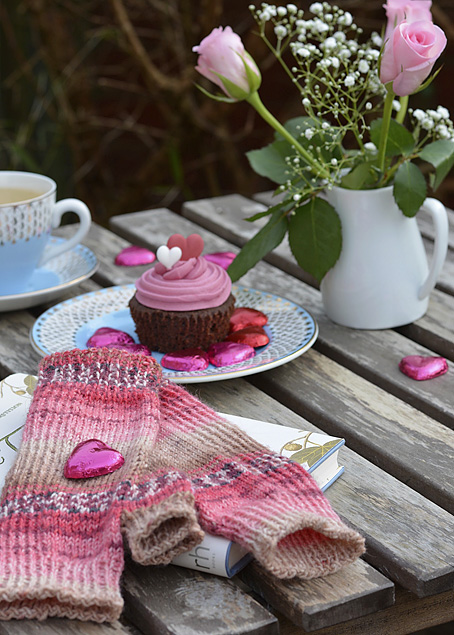
These gorgeous Valentine Fingerless Mitts are based on my basic Fingerless Mitts pattern. The Valentine Fingerless Mitts fit the hand snugly by continuing a section of the ribbing from the cast on cuff to the cast off cuff through the stocking stitch section of the mitts.
Everyone who has worn these fingerless mitts loves the cosy fit. Sweet & Spicy 2 in Chilli 8616 is a delectable pink and biscuit colour combination that is very romantic and feminine. Perfect for wearing on Valentine’s Day!
Materials
- 45 grams of 4ply sock yarn – Use your favourite self-patterning sock yarn. You may use less yarn depending upon whether you decide to create a matching pair of fingerless mitts or non-matching.
- A set of 2.75mm bamboo double-pointed needles (dpns)
- A tapestry needle
Tension & Dimensions
The ribbed panel on the Valentine Fingerless Mitts causes the mitt to fit your hand neatly and comfortably. This means that the tension isn’t essential but my fingerless mitts were knit with 15 1/2 sts and 22 rows = 5cm/2 inches over stocking stitch knit in the round on 2.75mm bamboo double pointed needles.
The Sweet & Spicy Valentine Fingerless Mitts are designed in one size to fit ladies. They can be made slightly smaller or bigger by changing the needle size.
The dimensions of the finished fingerless mitts are: width across the mitt at the wrist section is 7cm (2 3/4 inches); length from cast on of cuff to cast off of the cuff is 20cm (7 3/4 inches).
Abbreviations
- m1R – make one stitch right slanting
- m1L – make one stitch left slanting
- k – knit
- p – purl
- p2tog – purl 2 stitches together
- dpn(s) – double pointed needle(s)
- st(s) – stitch(es)
The Left and Right fingerless mitts are very slightly different to each other. This is to make sure that the ribbed section will look the same on both hands when you are wearing your new Valentine Fingerless Mitts.
Left Valentine Fingerless Mitt
Left Mitt Cast On:
Using a 4mm needle and 4 ply Opal Sock Yarn (Sweet & Spicy 2 – Chilli 8616) cast on 52 stitches loosely. I use a 4mm needle so that the casting on is looser than if I had used the 2.75mm needles. Then change to the 2.75mm needles for knitting the fingerless mitts.
Left Mitt Cuff:
On first round of working the k1, p1 rib join into the round taking care not to twist the cast on edge. (13 sts on each dpn needle).
Work the k1, p1 rib for 14 more rounds, 15 rounds of rib in total.
Left Mitt Wrist:
Next Round: k13, (p1, k1) 12 times, p1, k14.
Repeat this round for a further 23 rounds. 24 rounds in total.
Left Mitt Thumb Gusset:
Set Up Round: m1, place marker, k13, (p1, k1) 12 times, p1, k14
Round 1: knit to marker, slip marker, k13, (p1, k1) 12 times, p1, k14
Round 2: m1R, knit to marker, m1L, slip marker, k13, (p1, k1) 12 times, p1, k14
Repeat Rounds 1 and 2 until there are 21 (thumb) stitches between the marker and the start of the round.
Then: k21. slip marker, k13, (p1, k1) 12 times, p1, k14
Repeat this round 4 more times, a total of 5 rounds. At the end of the 5th round cast on 2 stitches using the backward loop method.
Next: place the 21 thumb stitches onto a piece of waste yarn and remove the stitch marker.
Left Mitt Continue for Hand:
Next round: k13, (p1, k1) 12 times, p1, k16
Repeat this round 8 more times (9 rounds in total).
Left Mitt The Cuff:
Set-Up Round: (p1, k1) 6 times, p2tog, then (k1, p1) 11 times, k1, p2tog, (k1, p1) 7 times, k1
Continue in p1 k1 Rib for 11 more rounds (12 rounds in total including the set-up round).
Cast off in rib.
NOTE: As I wanted the Left and Right fingerless mitts to match, I unwound yarn until I was at the same starting point for the left mitt, before casting on for the right mitt. I wound this yarn up and used it to knit the left thumb. After finishing the right mitt, I again unwound the yarn until I was at the same starting point and I used this yarn for knitting the thumb on the right mitt.
The thumb is worked in exactly the same way for both the left and right fingerless mitts.
Left and Right Mitt Thumb:
Place the 21 stitches that are on the waste yarn onto 2 dpns.
Starting in the centre of the 2 cast-on stitches, pick up and knit 3 stitches, then knit 5 stitches from the needle. Needle 1 has 8 stitches. Knit the next 10 stitches onto needle 2. Knit 6 stitches onto needle 3, then pick up and knit 2 stitches.
Then knit 1 round.
Next round: k1, p1 rib to the end of the round.
Repeat this for 7 more rounds (8 rounds in total).
Cast off in rib.
Right Valentine Fingerless Mitt
Right Mitt Cuff:
On the first round of working the p1, k1 rib join into the round taking care not to twist the cast on edge. (13 sts on each dpn needle).
Work the p1, k1 rib for 14 more rounds, 15 rounds of rib in total.
Right Mitt Wrist:
Next round: k14, (p1, k1) 12 times, p1, k13
Repeat this round for a further 23 rounds. (24 rounds in total).
Right Mitt Thumb Gusset:
Set up round: m1, place marker, k14, (p1, k1) 12 times, p1, k13
Round 1: knit to marker, slip marker, k14, (p1, k1) 12 times, p1, k13
Round 2: m1R, knit to marker, m1L, slip marker, k14, (p1, k1) 12 times, p1, k13
Repeat rounds 1 and 2 until there are 21 stitches between the marker and the start of the round.
Then: k21. slip marker, k14, (p1, k1) 12 times, p1, k13
Repeat this round 4 more times, a total of 5 rounds. At the end of the 5th round cast on 2 stitches using the backward loop method.
Next: place the 21 thumb stitches onto a piece of waste yarn and remove the stitch marker.
Right Mitt Continue for Hand:
Next round: k14, (p1, k1) 12 times, p1, k15
Repeat this round 8 more times (9 rounds in total).
Right Mitt The Cuff:
Set-Up Round: (k1, p1) 6 times, k1, p2tog, then (k1, p1) 11 times, k1, p2tog, (k1, p1) 7 times
Continue in k1 p1 Rib for 11 more rounds (12 rounds in total including the set-up round).
Cast off in rib.
Knit the thumb for the Left Valentine Fingerless Mitt. Then sew in the loose yarn ends. If you have any little gaps where the thumb meets the hand, they can be hidden when sewing in the yarn ends.
I’d love to see your finished Valentine Fingerless Mitts. Have a great Valentine’s Day.
There is more information about the Valentine Fingerless Mitts in the February 2015 Knitting Squirrel Newsletter.





Thanks for your awesome newsletters…miss you in the Sasha world…but I do have a suggestion…what to do with leftover sock yard….KNIT something for Sasha…and sell it to Nikita…you are awesome….
Hi Nikita, I have been knitting a sweater dress for Sasha using the yarn. It is rather cute. Haven’t made anything to go with it yet. Nicolette x
Awesome…something for Sasha…you can always sell it to me if you do not want to keep it..I love your knitting and always loved your Sasha creations…
Still knitting this. Nearly finished. Need to decide what else to put with it.