My Slip Stitch Snowflake Socks were inspired by the Sweet & Spicy Peach Socks. I pretty much used the same slip stitch sock pattern. The main difference was that I wondered how the sock would fit if I continued the slip stitch pattern down the sole of the foot as well as the instep. The easiest way to do this was to decide to knit an afterthought heel. I do love tweaking patterns. So much fun!
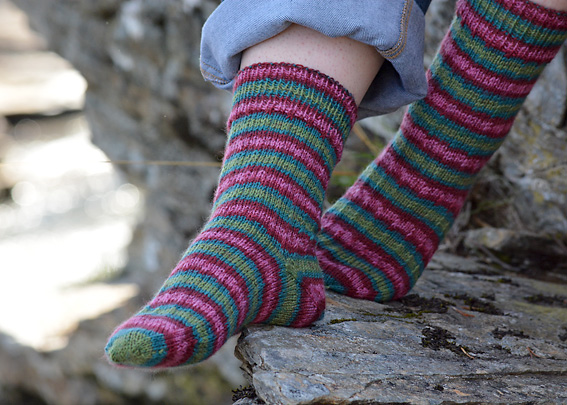
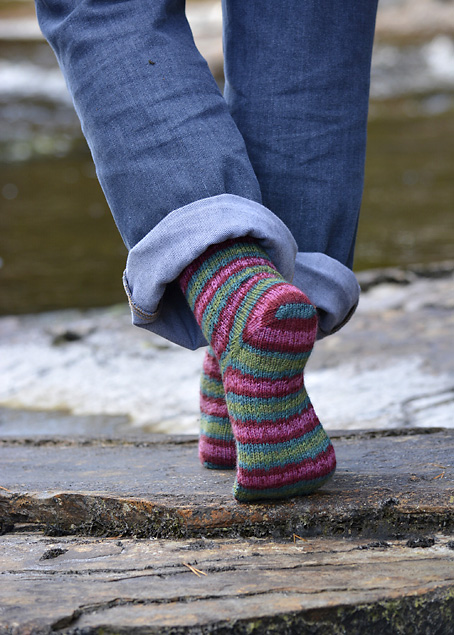
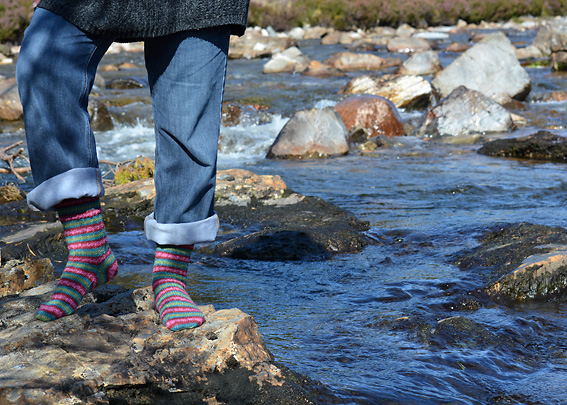
The Slip Stitch Socks are knit using Regia Snowflake in the colour Snow Suit 7707. Use a 100g ball of sock yarn of your own choice. I used 2.75mm Clover bamboo double pointed needles.
Needles:
- 3.25 mm (US 3) double pointed needle (dpn) for casting on
- 2.75 mm (US 2) (set of 5) clover takumi bamboo double pointed needles for knitting socks
- tapestry needle for sewing in ends.
Sock Yarn:
1 x 100g ball of Sock Yarn
Tension:
The tension for these socks is 10 rows and 8 stitches / 2.5cm (1 inch) in stocking stitch (stockinette).
The tension on the slipped stitch pattern is 13 rows (6.5 slipped stitches) and 8.5 stitches = 2.5cm (1 inch).
Slip Stitch Pattern:
- Round 1: k3, slip 1. (repeats over 4 stitches)
- Round 2: k
Abbreviations:
double pointed needle(s) – dpn(s); stitch(es) – st(s); knit – k; purl – p; slip slip knit – ssk; purl two stitches together – p2tog; knit stitch through the back loop – ktbl; slip one stitch – sl1.
Sock Size:
These socks were designed to fit Shoe Size UK 5 to 6, EU 38 to 39 and US 7 to 8. The finished length of the sock from heel to toe measures 24cm (9.5″). The 4 stitch repeat of this stitch pattern means it is easy to make the sock bigger or smaller by casting on more or less stitches, making sure the number is divisible by 4.
Cuff:
I cast on 64 stitches instead of the normal 60 stitches because the tension for the slip stitch pattern is a little bit tighter.
- Cast on 64 stitches using 3.25mm double pointed needle using the long tail cast on or your favourite stretchy cast on.
- Join into the round as you rib the first round using 2.75m double pointed needles. 16 stitches on each needle.
- Work k1, p1 rib for 23 rounds.
Leg:
- Round 1: k2, sl1, *k3, sl1; repeat from * to last stitch, k1.
- Round 2: k
- Repeat rounds 1 and 2 for a total of 58 rounds (ending on a Round 2).
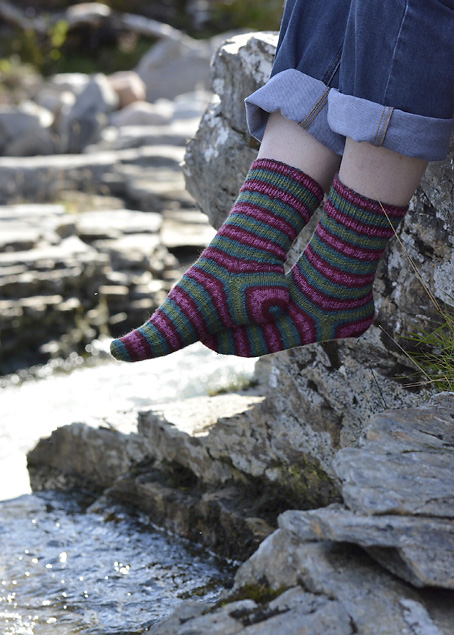
I was following the self striping pattern and wanted the afterthought heel to fit into the middle of the green stripe. It would have worked out equally successfully if I’d used the middle of the pale pink stripe.
Afterthought heel Set Up
This sock has an afterthought heel. Use about a metre of contrasting coloured yarn. I used an ivory yarn as a strong contrast to the strong patterning of these socks. It helps to use a smooth yarn as it is then easier to remove later when you’re picking up the stitches to knit the afterthought heel.
- This is the point where you would normally start knitting the heel. This heel uses half of the total stitches – 32 stitches.
- On the next round work 48 stitches in the slip stitch pattern, then knit the next 32 stitches using the waste yarn.
- Go back to where you started knitting with the waste yarn and knit across the 32 stitches worked in the waste yarn using the sock yarn.
Foot
Finish knitting this round. It is a round 2 of the slip stitch pattern.
- Round 1: k2, sl1, *k3, sl1; repeat from * to last stitch, k1.
- Round 2: k
- Repeat rounds 1 and 2 for a total of 58 rounds. After I’d knit 20 rounds, I left the foot stitches on the dpns and started knitting the afterthought heel.
Note: I often do this with an afterthought heel as once the heel is finished, it is easy to try the sock on to ascertain when I have knit enough rounds for the foot. I know this may feel like too many double pointed needles for you to feel comfortable working with. You can if you like place the stitches for the foot onto a length of scrap yarn, if you do, it is helpful to place stitch markers at the point where the needles intersect.
I picked up the stitches for the heel.
The Afterthought Heel
Pick up 16 stitches on each of four double pointed needles and then remove the waste yarn.
Once the live stitches are on the needles, knit 1 round. I was careful to find the beginning of the green stripe to start knitting from. I also used the other end of the ball of yarn as I didn’t want to cut the yarn that I was using for knitting the foot.
Then I worked the heel in the same way as for the Classic Toe.
- Round 1: Needles 1 and 3: k to last 3 sts, k2tog, k1; Needles 2 and 4: k1, ssk, k to end of needle.
- Round 2: k
- Repeat rounds 1 and 2 until there are 4 sts on each needle. (16 stitches).
- Making sure that the heel stitches align with the toe, slip the stitches from needle 4 onto needle 1 and the stitches from needle 3 onto needle 2. 8 stitches on each needle.
- Graft the heel stitches using Kitchener Stitch.
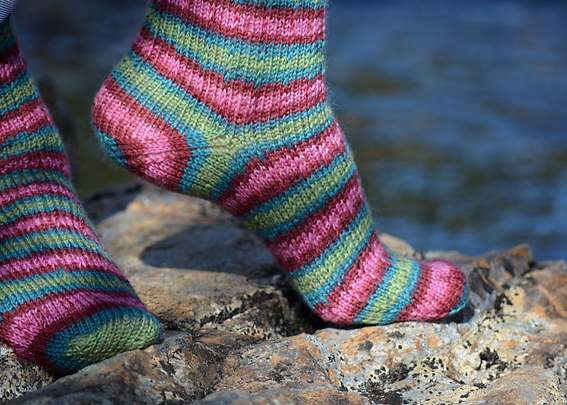
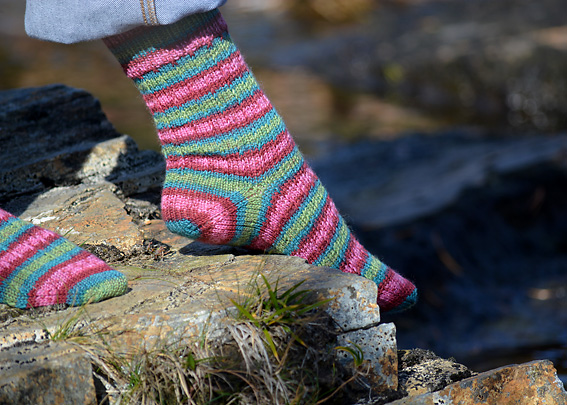
I love how the heel looks. The self striping sock yarn gives a fun circle repeating pattern on the heel.
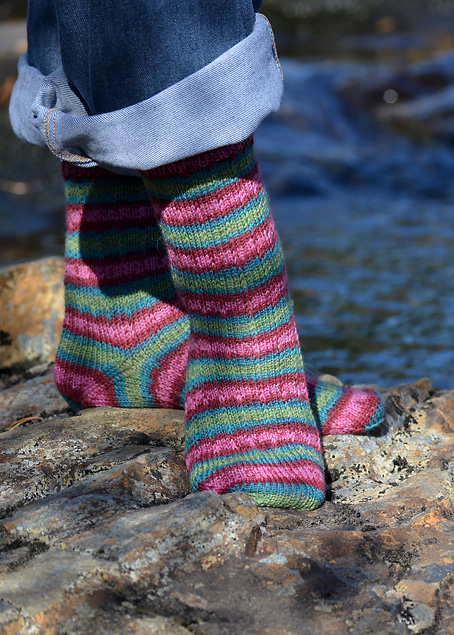
After finishing the afterthought heel, I went back and continued knitting the foot. For this sock, I knit a total of 58 rounds in the slip stitch pattern before starting the classic toe shaping. But I find it helpful knitting the heel before the toe because it allows me the opportunity to try on the sock before I knit the toe.
Classic Toe:
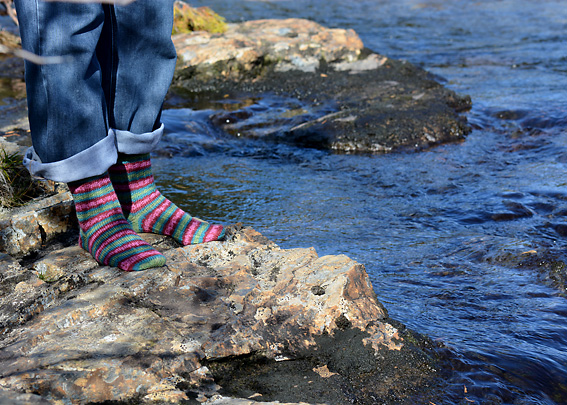
The classic toe is all knit in stocking stitch.
- Round 1: Needles 1 and 3: k to last 3 sts, k2tog, k1; Needles 2 and 4: k1, ssk, k to end of needle.
- Round 2: k
- Repeat rounds 1 and 2 until you have 28 sts left.
- Then repeat round 1 until there are 16 sts remaining.
- Making sure that the toe stitches align horizontally with the heel, slip the stitches from needle 4 onto needle 1 and the stitches from needle 3 onto needle 2.
- Graft the toe stitches using Kitchener Stitch.
Finishing
Sew in the ends using the tapestry needle. You can wash and block these socks if you like or add them to your sock drawer. On the other hand, if you can’t wait just pop them on your feet and enjoy wearing a lovely new pair of socks!!


These socks are beautiful! They will be my next pair. Thank you for sharing the pattern!
In trying on the socks to determine when to decrease for the toe, do you knit them to the nail of your little toe or do you have another gouge?