There is nothing more adorable than a co-ordinating hat and cowl.They just look so amazing together. The colours all work wonderfully thanks to the colour magicians at Regia! There is no clashing of colours or not being able to find quite the right shade to go with the hat or the cowl that you’re wearing. There is a certain elegance about having a hat and cowl set, which is probably only just improved, by the addition of gloves or fingerless mitts.
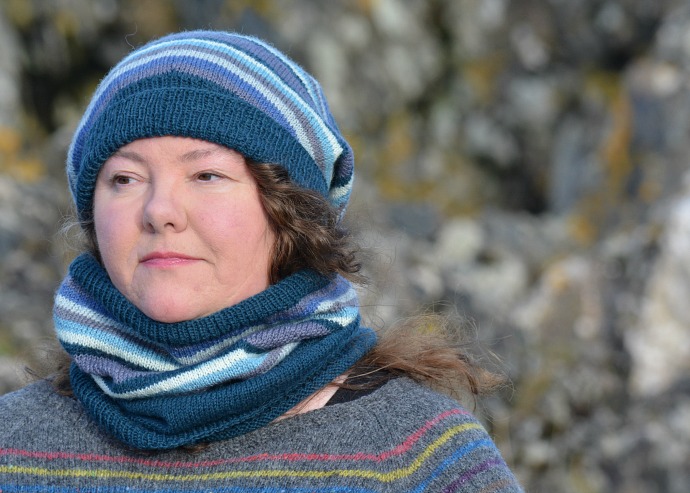
Do you ever see a sock yarn and wonder how it would work as a hat or a cowl instead of the socks they have been designed for? This happened when I saw the lovely Regia Pairfect sock yarn, although it took me a while to actually start. I love the beautiful colour combinations which have a stylish classical feel.
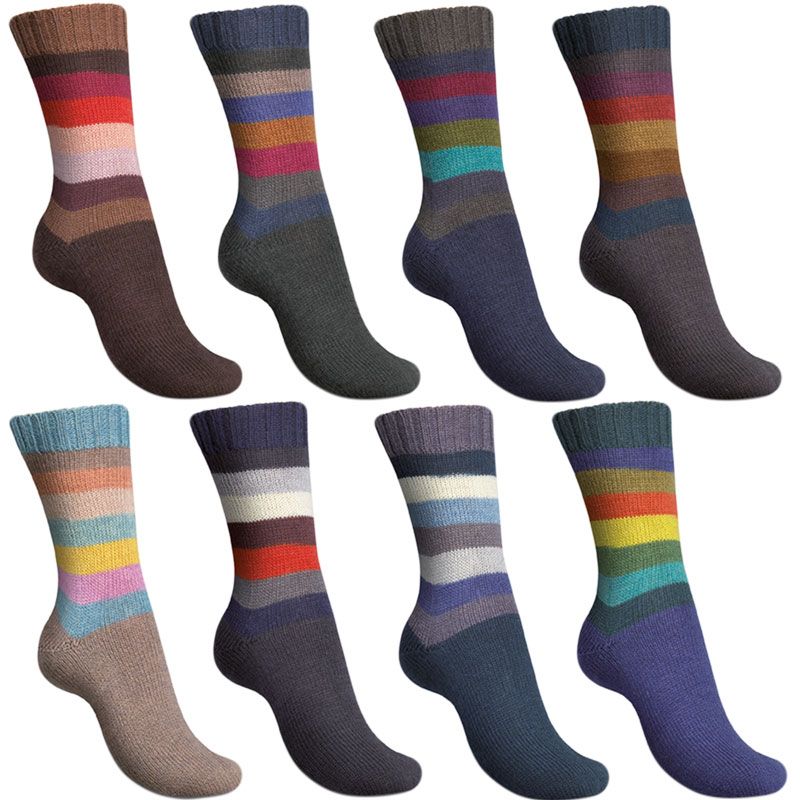
If you don’t know about Regia Pairfect sock yarn it is an innovative method that Schachenmayr came up with to make it easier to knit a matching pair of cuff down, self striping socks. Simply pull out the yellow yarn from the centre of the ball, cut off the yellow and cast on. You do need to make sure that if you are using a long tail cast on method that you start with exactly the same length of tail! A section of yellow yarn separates the 100g ball into two identical 50g segments.
There have now been several different Pairfect collections including the Pairfect Nordland by Arne and Carlos, Pairfect Design Line by Arne and Carlos, Pairfect Sock Yarn by Arne & Carlos, Pairfect Stripe and the Pairfect Sock Yarn that I used.
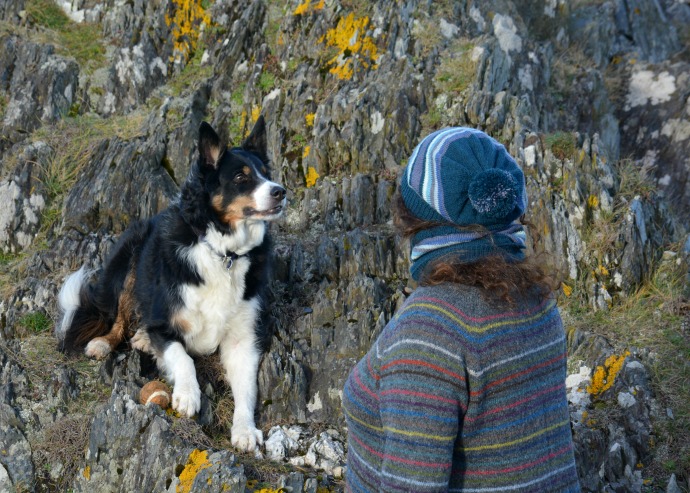
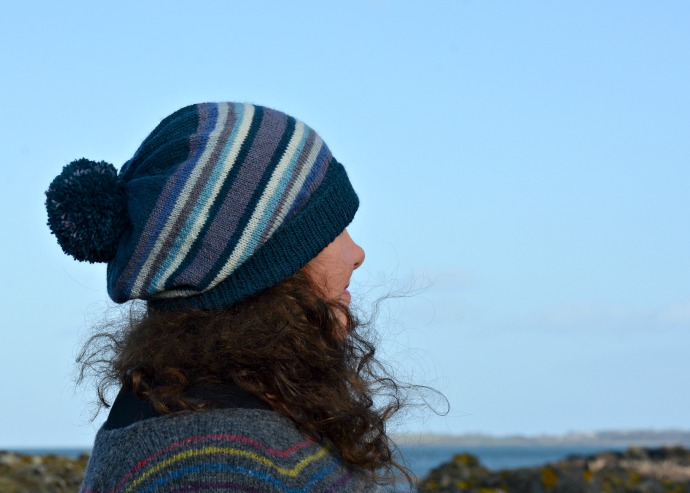
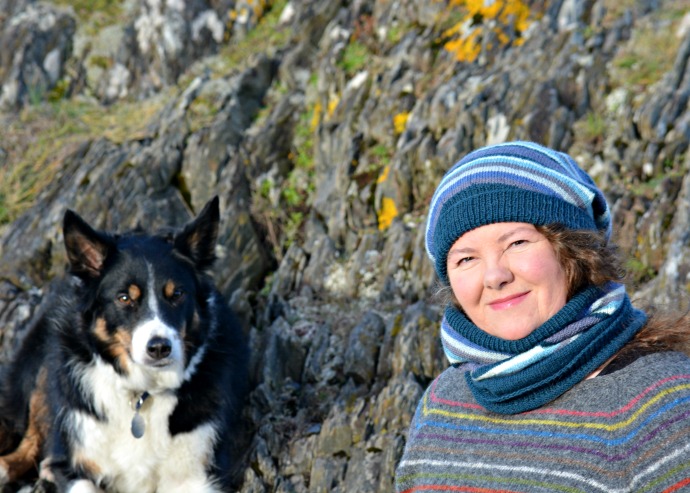
I chose colour 7114 Waterfall. I love the colour of the stripes that are reminiscent to me of a winter seascape. The marine blue main colour also looked great worn with my Confetti Sweater (designed by Veera Välimäki).
Cowl and Slouchy Hat
Material requirements:
Yarn:
If you are knitting just the hat or just the cowl you need one ball of 100g Pairfect Sock Yarn. However, if you want to knit both the hat and cowl you will need 2 balls of 100g of Pairfect Sock Yarn (200g total).
Needles:
- 3mm 40cm/16” Clover Takumi bamboo circular needle for the ribbed cuff.
- 3.25mm 40cm/16” Clover Takumi bamboo circular needle for the body of the hat and the cowl.
- 3.25mm set of double pointed needles for the crown shaping on the hat.
- Stitch Markers
- Tapestry Needle
Tension:
26 sts and 36 rows measured over 10cm/4” using the 3.25mm needle on stocking stitch (knit in the round).
Abbreviations:
- BOR: beginning of round
- k: knit
- k2tog: knit 2 stitches together (decreases 1 stitch)
- st(s): stitch(es)
- pm: place marker
- sm: slip marker
- dpn(s): double pointed needle(s)
Finished Dimensions:
Finished dimensions of the cowl – 38cm/15″ long by 29cm/11 1/2″ wide.
Finished dimensions of the hat – 31cm/12 1/4″ long (to cast on edge) by 30cm/12″ (measured across the widest stripe).
Please Note:
The pattern has not been tech edited or test knitted as it was made for myself to wear.
Slouchy Hat Pattern
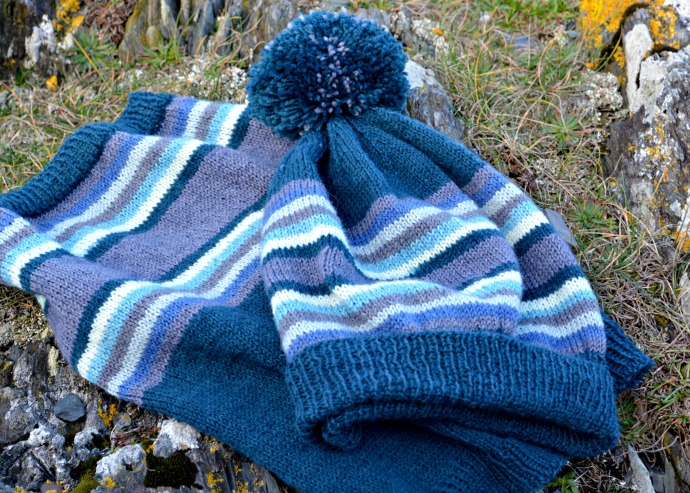
The hat has a folded back brim and an easy to wear slouchy style. By increasing the stitch count of the body section of the hat, it meant that my narrow stripes were the same width on both the hat and the cowl, which I liked.
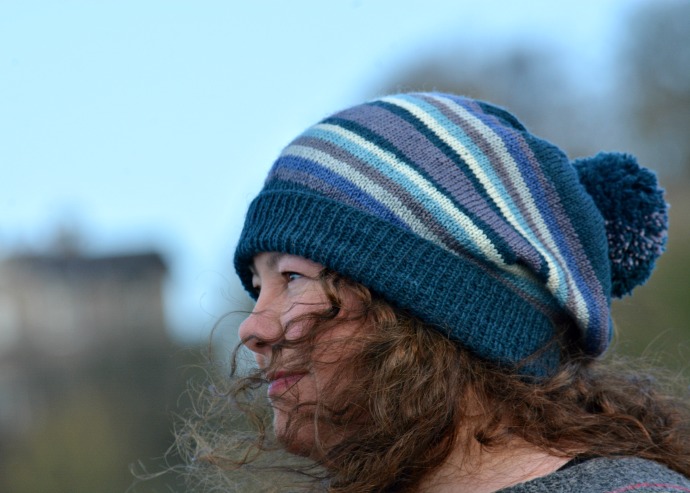
Brim:
Remove the yellow piece of yarn from the outside of the ball of Pairfect sock yarn and cast on 144 stitches using the 3mm 40cm circular bamboo needles.
Work 9cm/3 1/2” of k1, p1 rib for the brim using the main colour (originally would have been the toe/foot/heel part of the sock). (36 rounds).
Body of Hat:
- Next round: (k12, m1) 12 times (156 sts)
Remove leftover main colour and set aside for making the pompom later. Still knitting from the outside of the ball of Pairfect.
Change to 3.25mm circular needle and using the striped section of the sock yarn k1 round.
- Next round: (k6, m1) 11 times (168 sts)
Knit to almost the end of all of the stripes. The last stripe is wider as it was designed for knitting the sock cuff. Cut the yarn.
Now you will be working from the centre of the ball. Remove the yellow section of yarn. Unwind most of the cuff colour. Then with some of the cuff colour left, join to the hat. I found that this gave a smooth transition of striping.
Continue knitting the body of the hat. The stripes are now a mirror image of the first set of stripes and then the yarn changes back into the main colour. Knit until the hat measures 10” from the cast on edge.
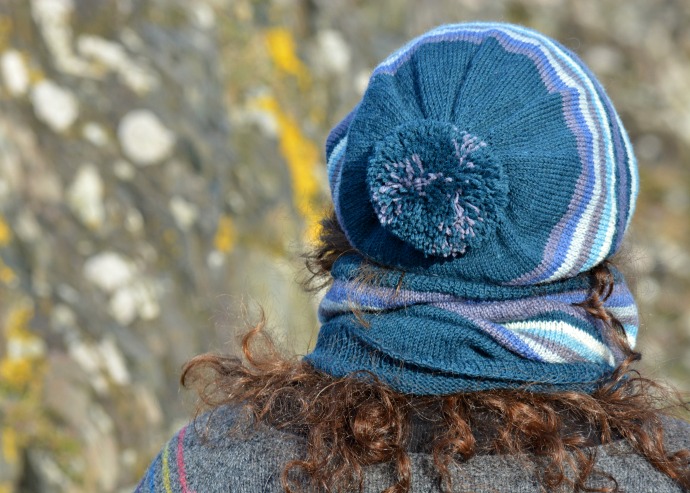
Crown Shaping:
Change to the 3.25mm double pointed needles when you need to. Divide the stitches over 3 needles.
- Round 1: (k6, k2tog, pm) repeat to end of round, 21 sts decreased. (147 sts)
I normally make the first marker my BOR marker.
- Rounds 2 and 3: k
- Round 4: (k5, k2tog, sm) repeat to end of round, 21 sts decreased. (126 sts)
- Rounds 5 and 6: k
- Round 7: (k4, k2tog, sm) repeat to end of round, 21 sts decreased. (105 sts)
- Rounds 8 and 9: k
- Round 10: (k3, k2tog, sm) repeat to end of round, 21 sts decreased. (84 sts)
- Rounds 11 and 12: k
- Round 13: (k2, k2tog, sm) repeat to end of round, 21 sts decreased. (63 sts)
- Rounds 14 and 15: k
- Round 16: (k1, k2tog, sm) repeat to end of round, 21 sts decreased. (42 sts)
- Round 17: k
- Round 18: (k2tog, removing all markers except for BOR marker) repeat to end of round, 21 sts decreased. (21 sts)
- Round 19: k
- Round 20: (k2tog) repeat to last stitch, k1. (11 sts)
- Round 21: k
Finishing of the Hat:
Cut yarn. Using the tapestry needle and the yarn tail, gather the remaining 11 sts tightly, then sew in the yarn end securely. Sew in all the other yarn ends. Wash and block the hat (before sewing on the pompom).
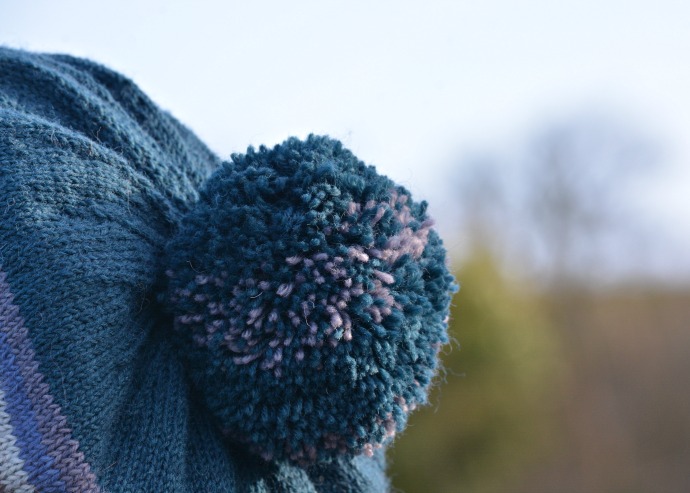
Make a pompom using all the leftovers from the ball of yarn. If you’re thinking of knitting the cowl, then wait until you finish knitting the cowl before making the pompom and it allows you to use any leftovers from it as well. Attach the pompom to the top of the hat. I attach my pompom onto the top of the crown in a way that allows it to be easily removed when the hat needs washed.
Cowl
This is a very effective way of having beautiful stripes on a cowl with the minimum of effort plus the colours all work wonderfully well together thanks to Regia’s colour wizardry!
Remove the Yellow section of yarn from the outside of the ball of Pairfect Sock Yarn colour 7114 Waterfall.
Top Rib Cuff:
Cast on 160 sts with the 3mm circular needles using the main colour and starting from the outside of the ball of yarn.
- Work k1, p1 rib for 8 rounds.
Body of Cowl:
The body section of the cowl is now knit in stocking stitch.
Change to 3.25mm circular needle and knit 1 round. Then cut the yarn leaving a 15cm/6” tail.
Wind off all of the main colour into a ball and set aside.
Join the stripe section and knit to 6” from the start of the yellow section of yarn (this includes all of the cuff section of yarn). Cut the yarn. Leaving a 15cm/6” tail. The first section of stripes measures 7.5cm/3” from the start of the stripes section.
Next, start using the yarn from the centre of the ball. Cut off the yellow section of yarn. Join the cuff colour and continue knitting. This will give a wider stripe of colour (approximately 16 rounds) before the start of the narrower stripes. Continue knitting the body of the cowl. The stripes are now a mirror image of the first set of stripes and then the yarn changes back into the main colour. Knit with the main colour until 15cm/6” from the start of the yellow section of yarn. Cut it off. Join the ball of main colour yarn that had been wound off and set to the side. Knit until the main colour section of the cowl measures 16.5cm/6 1/2” from the end of the stripe section.
Lower Rib Cuff:
Change to the 3mm circular needle and work k1, p1 rib for 12 rounds. Cast off loosely.
Any left over main colour of yarn can be added to the pompom for the hat.
Finishing the Cowl:
Sew in any ends and wash and block the cowl.
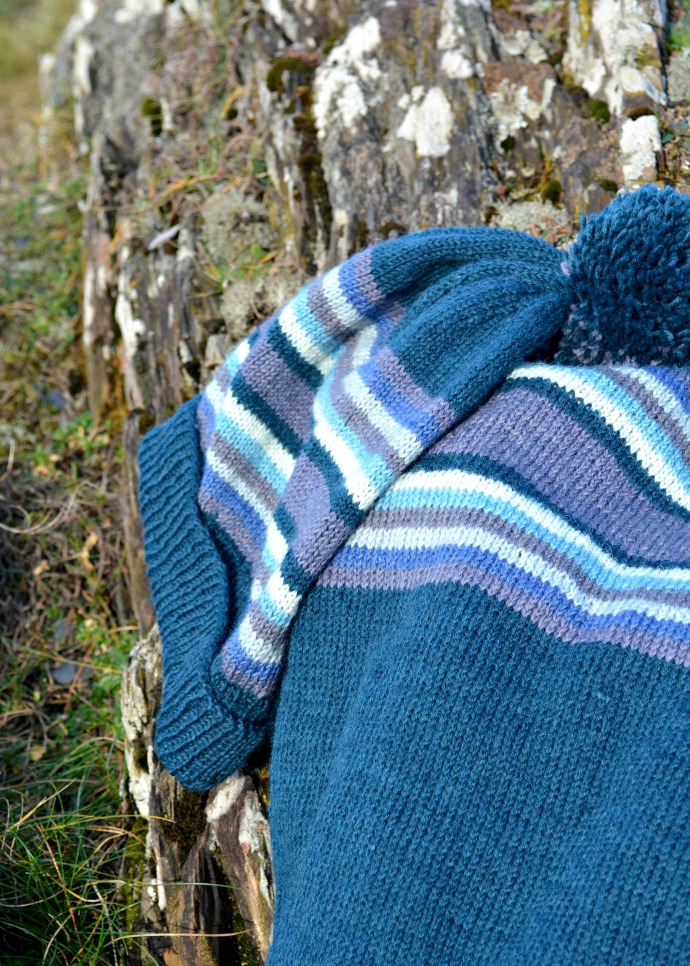
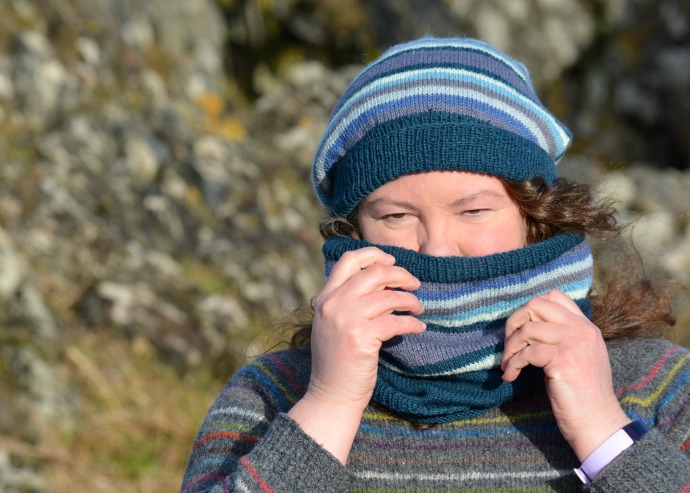
There is nothing as cosy as having a hat and cowl to wear on a cold walk at the beach. The joy of a cowl is it can’t flutter off in the breeze.
I look forward to seeing your beautiful hats and cowls. The yarn used can be bought in the yarn shop.

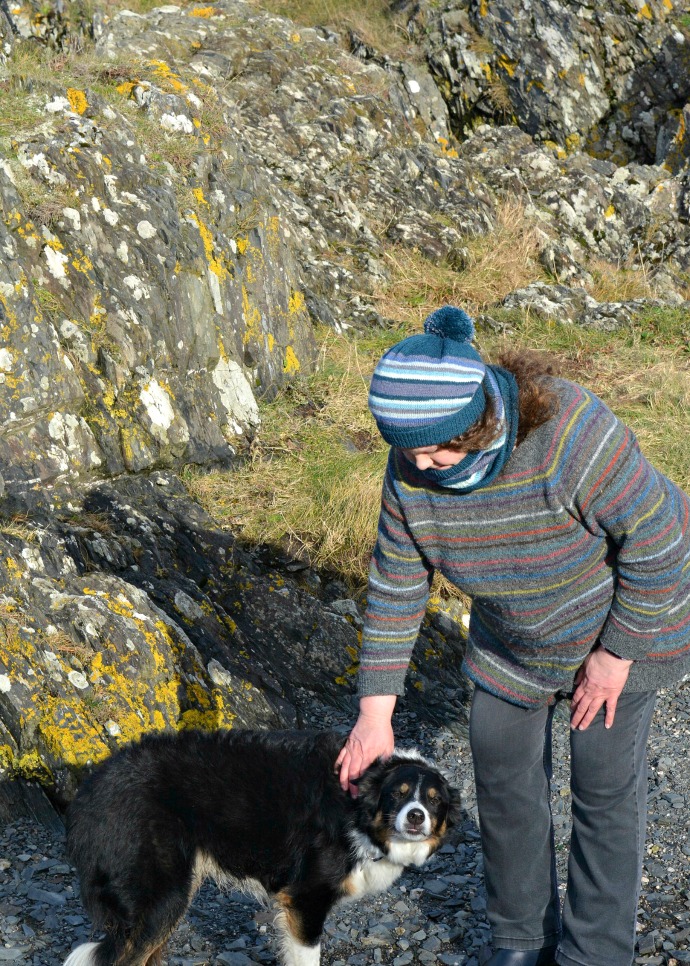
The photos were taken by Neil at Crawfordsburn Country Park, Co Down on a wintry day in February between Storm Ciara and Storm Dennis, when we had a chilly but sunny afternoon. It is always nice to take advantage of a break in the rain.


I'd love to hear from you. Let me know what you think...