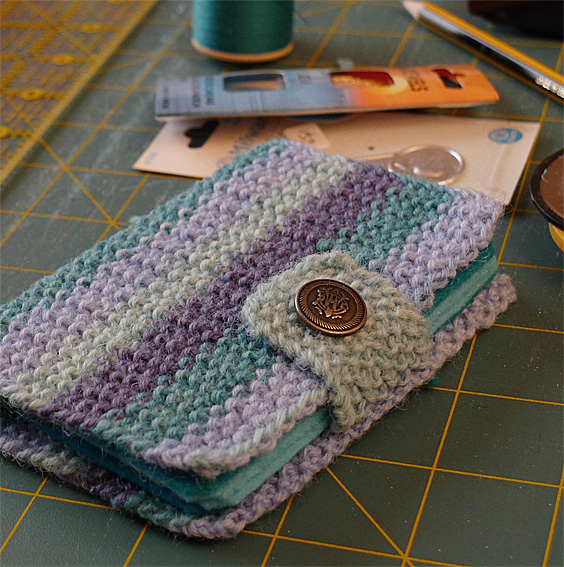
When I asked mum what she would like for her birthday, she requested a sewing needle case so I started planning the design for the Moss Stitch Sewing Needle Case.
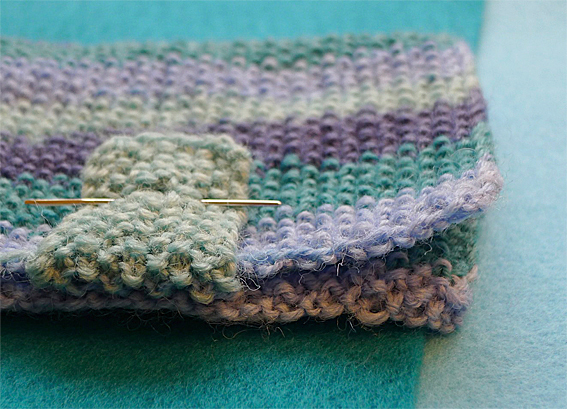
After thinking about it for a while, I decided to make one with a moss stitch knitted cover. I based the size and style for the design on my grandmother’s old leather-covered one that I use all the time.
Yarn
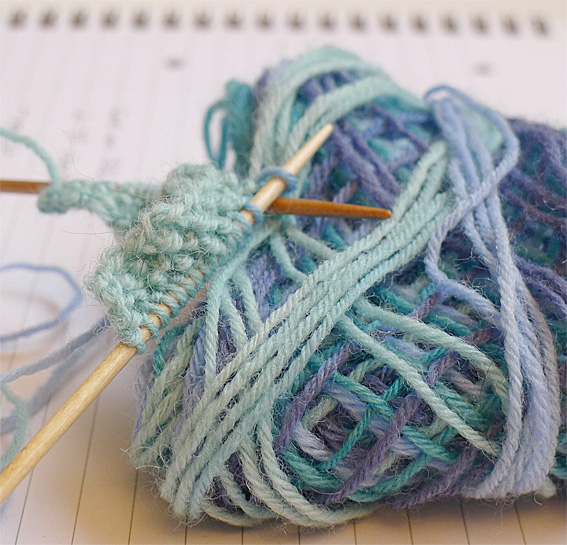
I used a lovely hand-dyed 4-ply wool that I bought a few years ago. I loved the colours when I saw them. This is an ideal stash buster project for leftover sock or 4-ply wool.
Materials:
- 2.75mm double pointed needles (dpns)
- 4-ply yarn
- felt – I used two contrasting colours
- 1 button
- I used a sewing machine to sew the spine but you could also sew this by hand.
Moss Stitch Pattern
Moss stitch is a simple and elegant textural stitch. It consists of alternate knit and purl stitches.
- Row 1 (RS): k1, p1, repeat to last st, k1
- Row 2: As Row 1
- These two rows form the pattern when worked over an uneven number of stitches.
The Moss Stitch Cover
Front:
- Using 2.75mm dpns cast on 33 sts using the 4-ply wool.
- Work in moss stitch until the front piece measures 8 cm (3 1/8 inches).
- Leave the stitches on the dpn needle.
Tab:
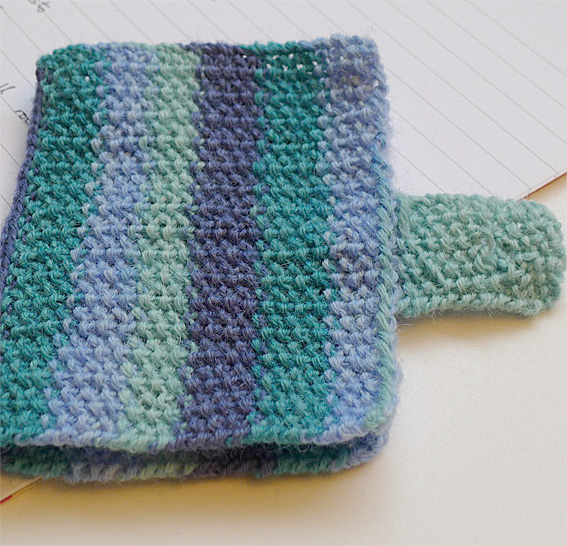
- Work the tab separately.
- Cast on 9 stitches.
- Start the moss stitch with a knit stitch.
- Work 7 rows in moss stitch.
- Create the buttonhole in this row, work 3 sts then cast off 3 sts, then work to the end keeping the moss stitch pattern correct.
- The second part of the buttonhole is created in this row, work 3 sts then cast on 3 sts then work to the end.
- Continuing in moss stitch, work another 11 rows.
- Leave the sts on the dpn needle.
Back:
- Cast on 33 sts
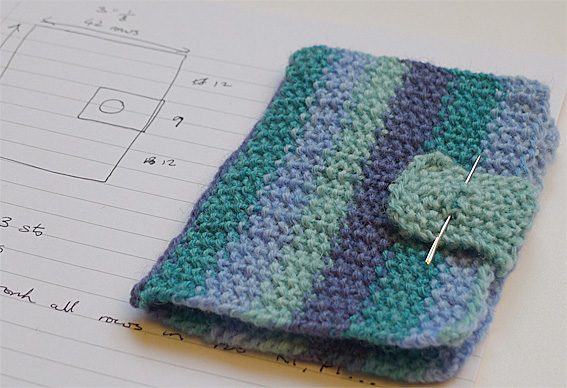
- Working row 1 of the Moss Stitch Pattern – Moss stitch the first 12 sts, starting with a knit stitch and ending with a purl stitch
- Work the next 9 sts and the 9 sts for the tab at the same time, starting with a knit stitch and ending with a knit stitch
- Then continue to moss stitch the remaining 12 sts, starting with a purl stitch and ending with a knit stitch
- Working row 2 of the Moss Stitch Pattern – continue the back until it measures 8 cm (3 1/8 inches).
Join the Front and Back together:
- Place the back and front pieces with the Wrong Side facing each other and cast off the sts using the 3 needle cast off. Darn in all the loose ends.
Adding the Felt “Pages”:
- Take your felt for the felt “pages” inside the case. I chose 2 contrasting colours, pale aqua and a deeper shade of turquoise.
- Measure the needle case and cut the felt to the required size (twice the width and once the height) – I used my rotary cutter, mat and omnigrid rulers.
- Open the needle case cover and lay it on top of the two pieces of felt.
- Pin along the spine and sew, by hand or using a sewing machine, along the spine.
- After the case was folded over, I carefully trimmed the felt wherever was necessary so that it had even sides, then trimmed the corners to a 45-degree angle.
Finishing Touches:
- Choose a button for fastening the case. I chose a beautiful metal button recycled from an old cardigan.
- Sew the button onto the front below the “closed” position of the tab buttonhole.
- Just add sewing needles and the finished needle case is ready for gift wrapping.


I was so impressed.the case is so beautiful.I’m going to make one for my mother.I wish I could make one like yours !!!
congratulations on your new venture Nicolette, your blog is beautiful and I wish you every success. Love your gift you made for your mum
Thank you Jacky. I wish you every success with all your endeavours for 2013… Have a very Happy New Year! Would love to keep in touch.