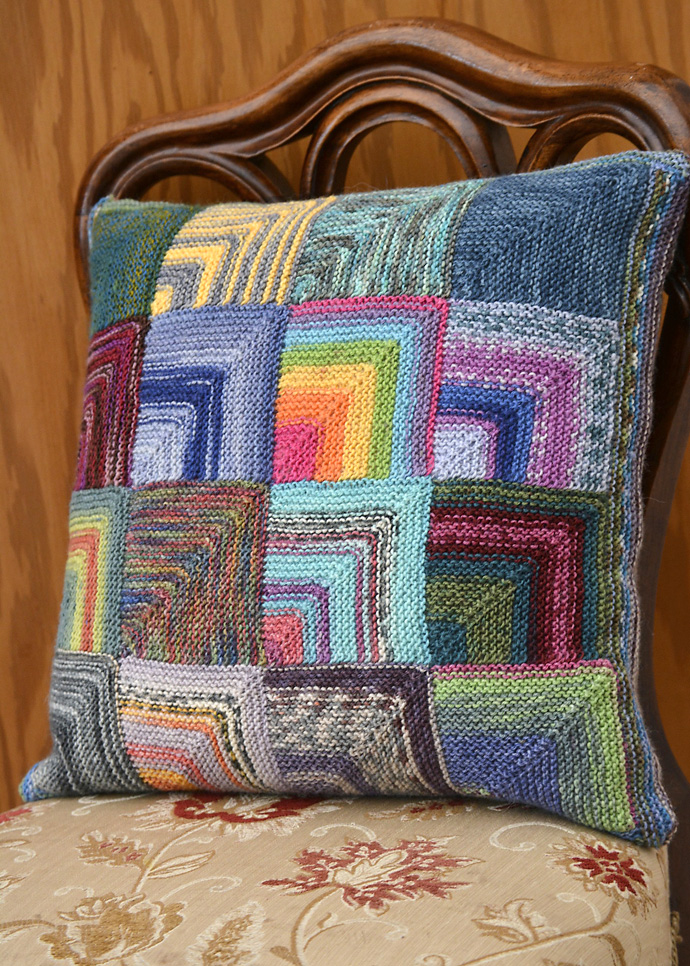
A few years ago, I made a Mitred Squares Cushion for my mother-in-law as a present. It was an enjoyable project using leftover sock yarns. As anyone who has been reading the posts on the Knitting Squirrel for a while will realise I love knitting socks And anyone who knits a lot of socks will know that there is always yarn leftover from these projects.
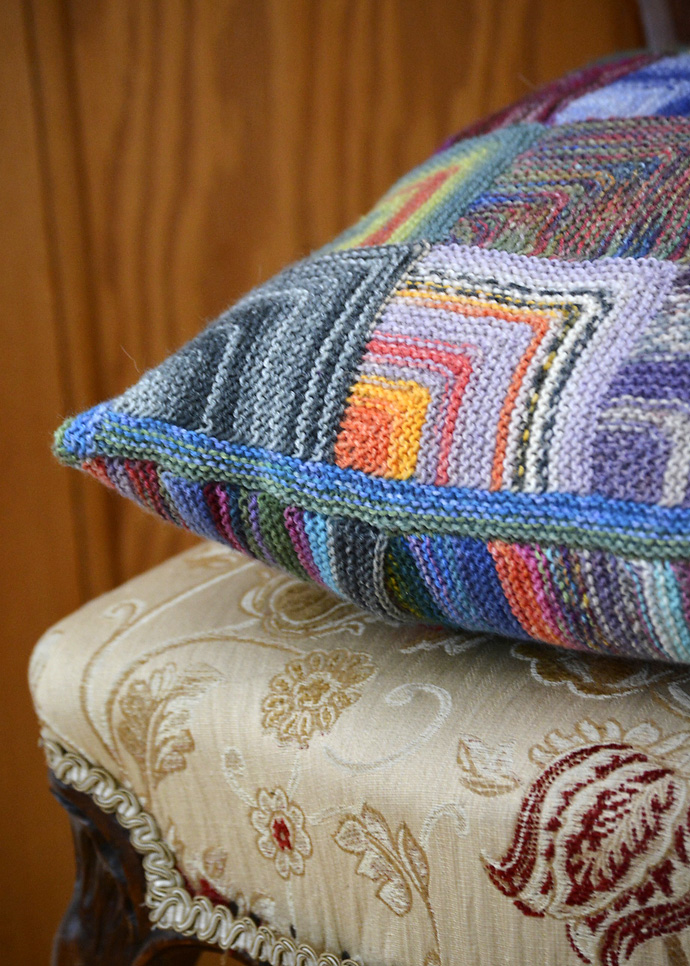
Random and Chosen Sock Yarns
In “Stashbusting Secrets for Sweater Knitting & More” with Sally Melville (on Craftsy) she at one point shows a sweater that she had made using a mixture of yarns, that she over-dyed to create a cohesive finished project, so if you really hate how your mitred squares look together, you can always over-dye the finished project!
Sally Melville is not a fan of what she calls oddball knitting and the mitred squares projects such as this cushion, the scarf, or the blanket, would I think fall into the category of oddball knitting. You can elevate it from the oddball look by being a bit more thoughtful about choosing which leftover sock yarn to use.
I have a large collection of partial balls of leftover yarn to choose from (after so many years of knitting socks and clothes for Sasha Dolls) so this enables me to be able to choose whether I want to have a multi-coloured project using all the colours or whether I want to create a more co-ordinated approach to the project by working within an analogous range of hues such as purples-blues-greens.
You can use all of the colours of the colour wheel in a project, but it is more successful if you leave one colour out.
Because, I tend to have favourite colours for knitting socks, and I’m not particularly fond of yellow, I find that my collection of sock yarn tends to work well as a cohesive whole for a project like this. If you’ve been knitting using sock, fingering and 4ply yarn for a while, you will probably find the same.
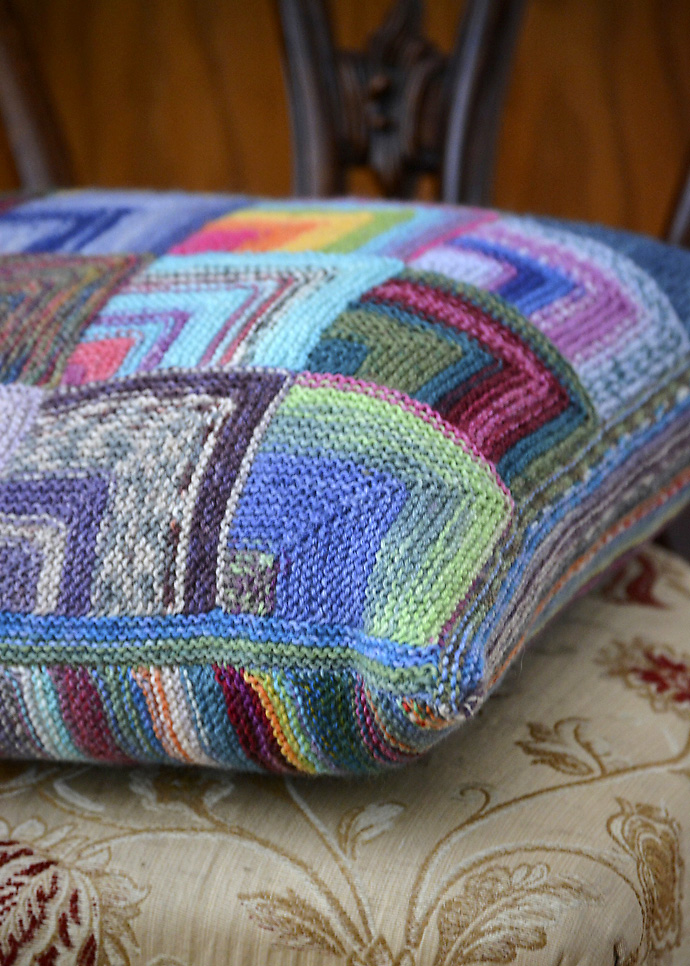
This isn’t a detailed pattern but more of an explanation of how I made the Mitred Squares Cushion.
The Mitred Squares Cushion used a mixture of different sock yarns. I chose to work randomly. I had collected a selection of sock yarns together in a basket and then I just reached for the next one randomly. It is fun to try a random choice of colours when you are working with a smaller sized project. I wouldn’t want to go the random colour choice route when knitting a larger project such as the Mitred Squares Blanket. If I’m going to spend a lot of time knitting a project, I want to know that I will definitely love the finished project.
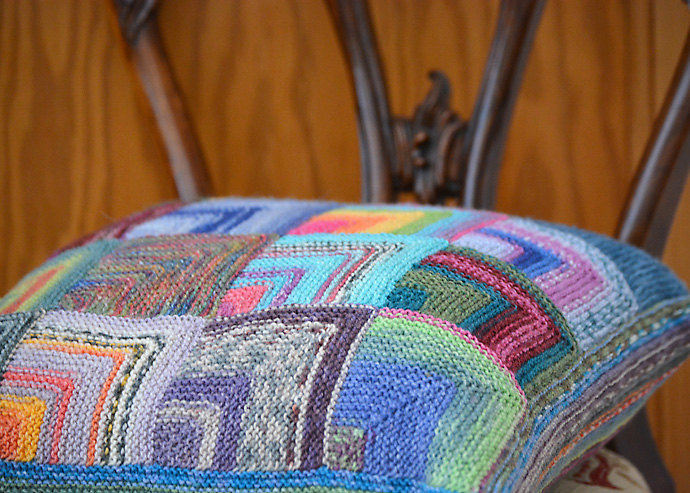
For the cushion front, I used the same technique of knitting the mitred squares as I did in the Mitred Squares Blanket. I opted for a square using 16 mitred squares (4 x 4). I edged the front with a border of 4 garter stitch ridges. For this, I opted to use the leftovers from one ball of Opal Beachcombing.
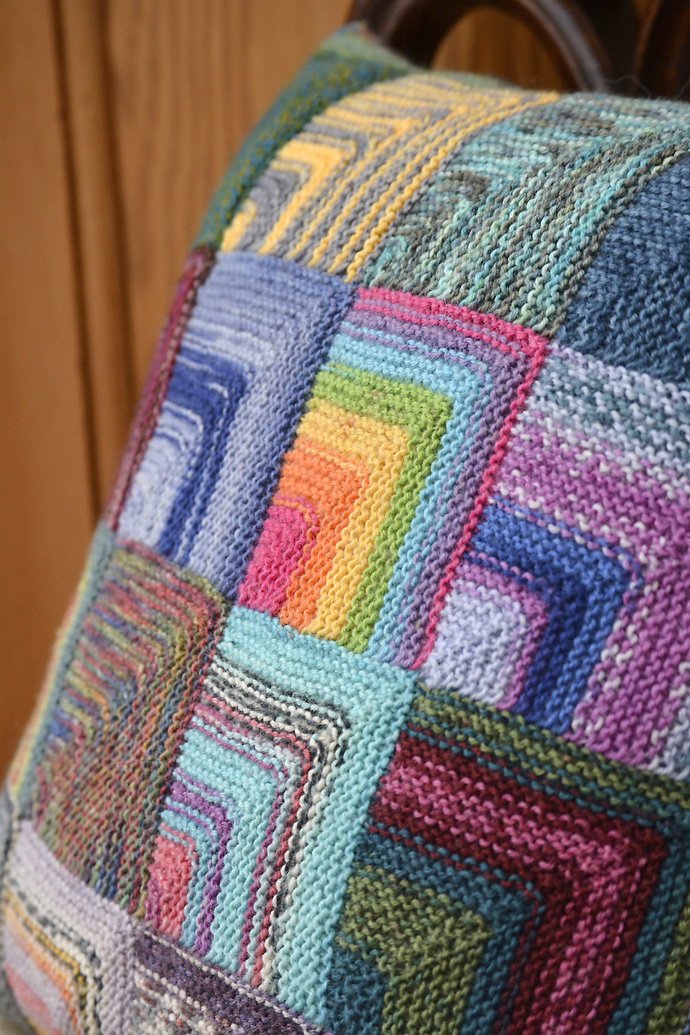
Knitting the Mitred Square Cushion:
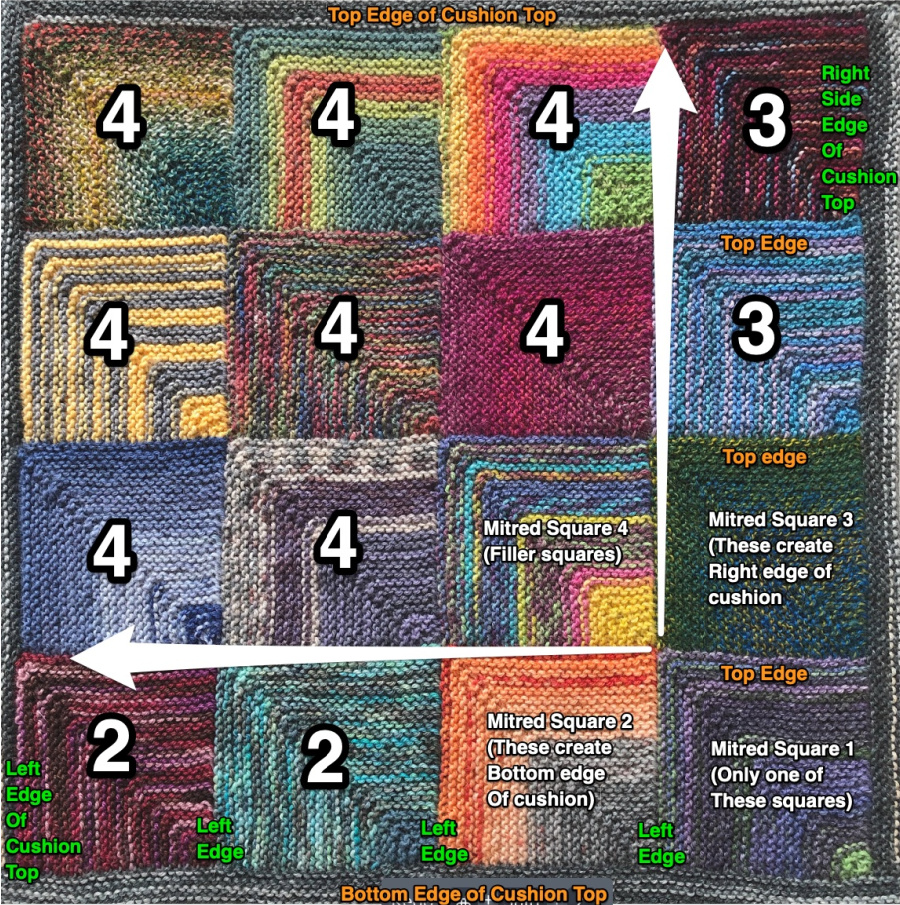
The cushion top is made using garter stitch mitred squares.
The first square is Mitred Square 1 and the other mitred squares build from it.
All Mitred Squares number 2 are worked the same and create the bottom edge of the cushion top.
All Mitred Squares number 3 are worked the same and create the right-hand side edge of the cushion top.
Mitred Square 4 is used for the remaining 9 squares of the cushion top.
Mitred Square 1:
- Use the 3.25mm double-pointed needle, cast on 48 stitches, using a long tail cast on.
- Row 1 (WS): knit 24 stitches, place marker, knit 24 stitches.
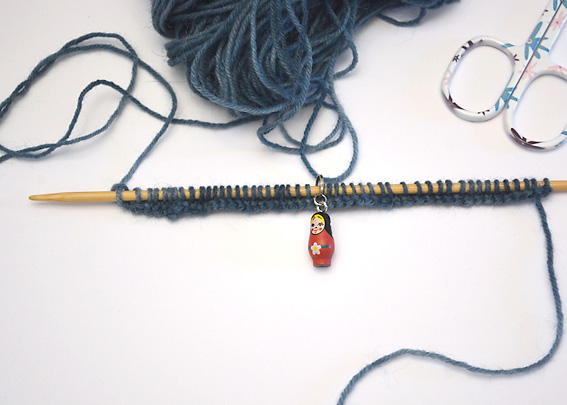
- Row 2 (RS): knit to 2 stitches before the marker, k2tog, slip marker, k2tog, knit to end.
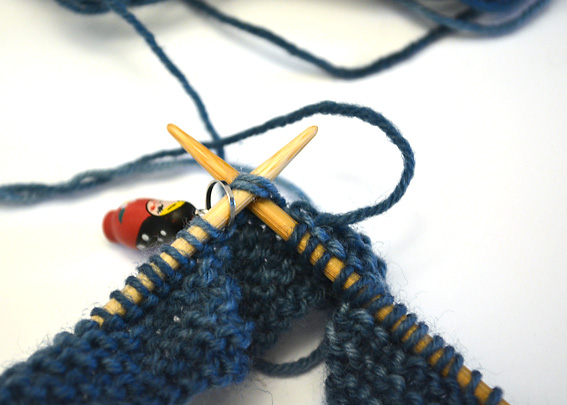
- Row 3 (WS): knit
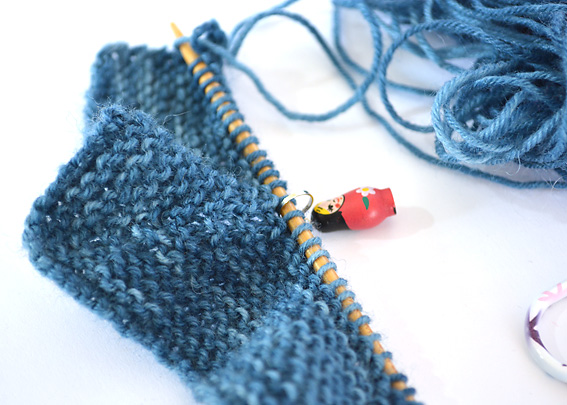
- Repeat rows 2 and 3 until 2 stitches remain.
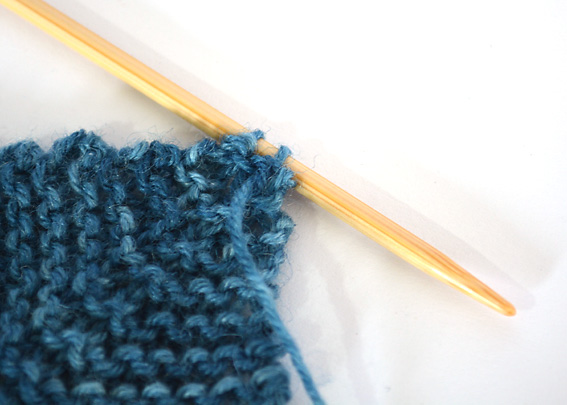
This is square 1 in the bottom right corner.
Mitred Square 2:
The mitred squares are joined together as you go.
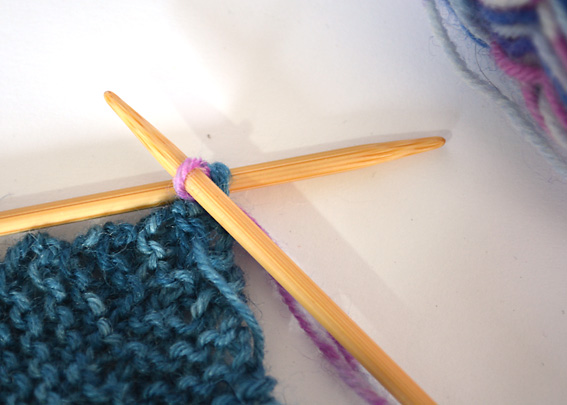
- Square 2 is attached to the left edge of square 1. With the right side of square 1 facing you, knit the 2 stitches remaining on the needle of square 1 using your new sock yarn colour. This is the first stitch.
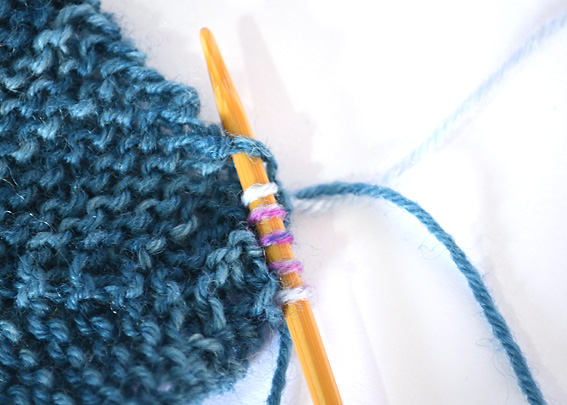
- Pick up and knit 23 more stitches along the edge of square 1.
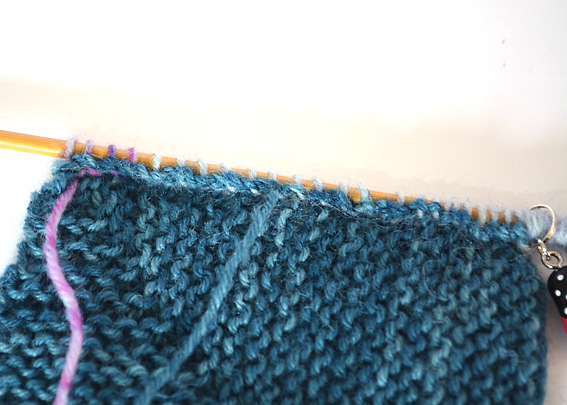
- On the first row, as I pick up and knit the stitches (along the edge of each garter stitch ridge) I weave in the yarn end from the previous square, for the first 10 stitches. The photo above shows the wrong side of the square where the yarn end from square 1 has been knitted in along the edge.
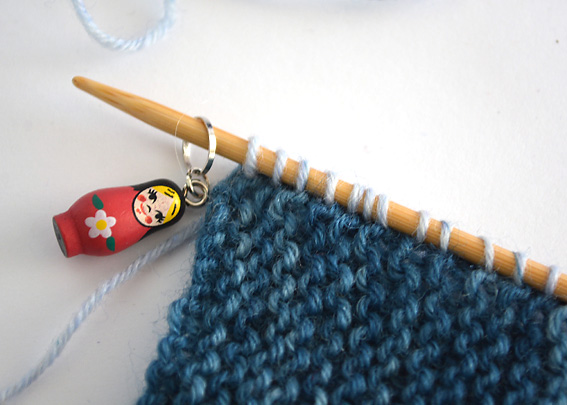
- It is important that stitch 24 is on the corner of the square then place the stitch marker.
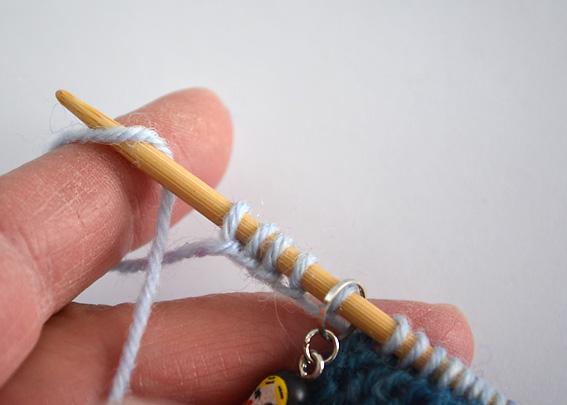
- Cast on 24 stitches using the backward loop method using the working yarn.
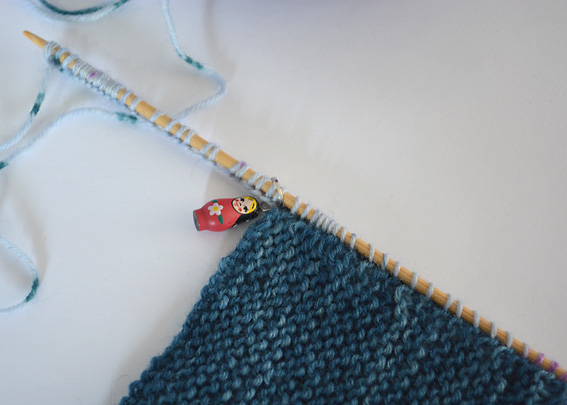
- This is the right side of the mitred square cushion.
- Turn, and knit one row (wrong side). The second square is worked exactly like square 1 from this point on. Starting with Row 2. Remember to knit in the yarn end on this row.
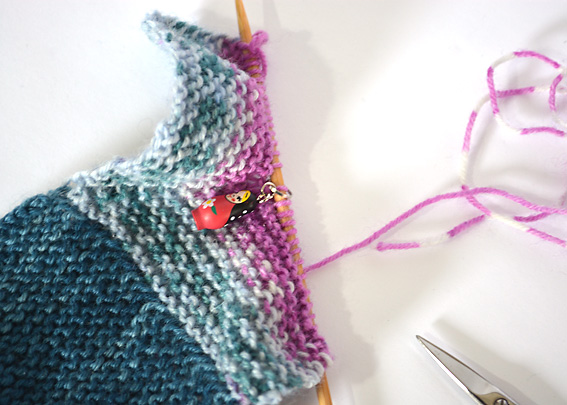
- Row 2 (RS): knit to 2 stitches before the marker, k2tog, slip marker, k2tog, knit to end.
- Row 3 (WS): knit
- Repeat rows 2 and 3 until 2 stitches remain.
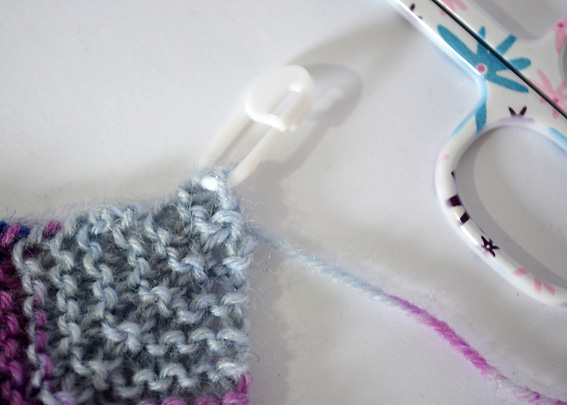
- Cut the yarn end about 20cm (8″) long. Place the two stitches on a locking stitch marker.
Mitred Square 3:
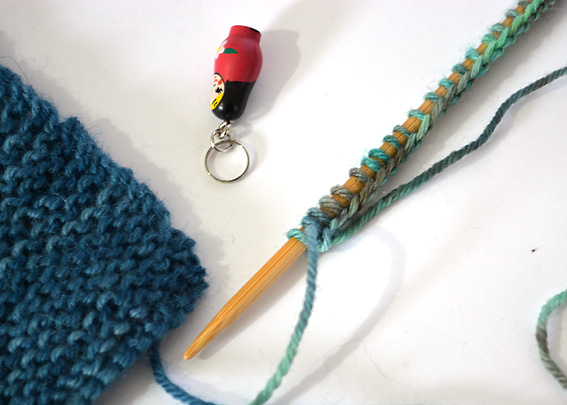
- Start square 3, which will be attached to the top edge, by casting on 24 stitches using the long tail cast on. Then place the stitch marker.
- Pick up and knit 24 stitches along the top edge of square 1 through the edge of each garter stitch ridge.
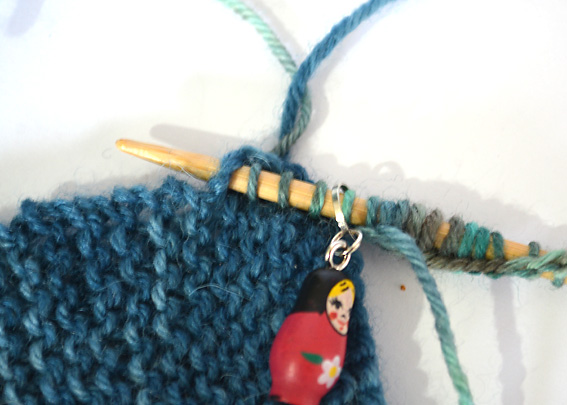
- As you are nearing the end of the top edge of square 1 remember to count the stitches you have made and how many garter stitch ridges still remain. Aim to have the 24th stitch in the ridge beside the joining edge between square 1 and square 2.
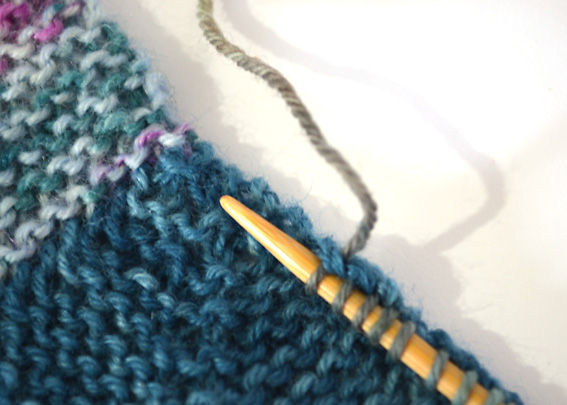
Turn, and knit one row (wrong side). Then knit square 3 in the same way as square 2 beginning on Row 2 (the right side).
- Row 2 (RS): knit to 2 stitches before the marker, k2tog, slip marker, k2tog, knit to end.
- Row 3 (WS): knit
- Repeat rows 2 and 3 until 2 stitches remain.
Mitred Square 4:
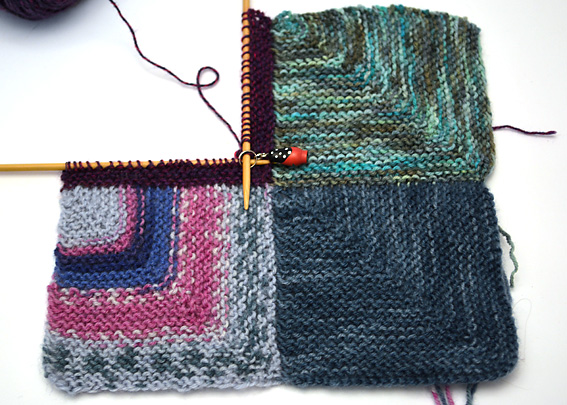
The remaining 9 squares of the cushion top will be knit in the same way as square 4.
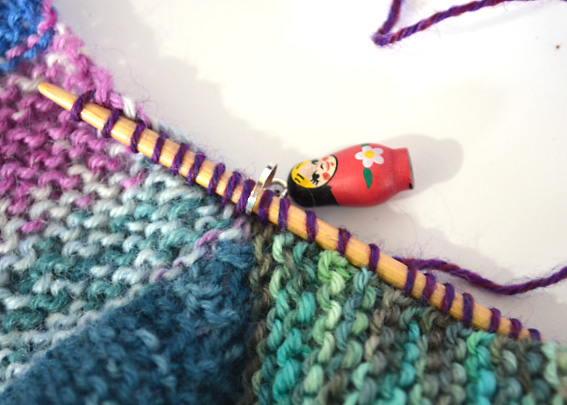
- Pick up and knit 24 stitches along the left edge of square 3, place the stitch marker, then pick up and knit 23 stitches along the top edge of square 2. When you reach the 2 stitches that were left on the locking stitch marker, knit the 2 stitches together, this is the 24th stitch on the top edge of square 2. Remove the stitch marker.
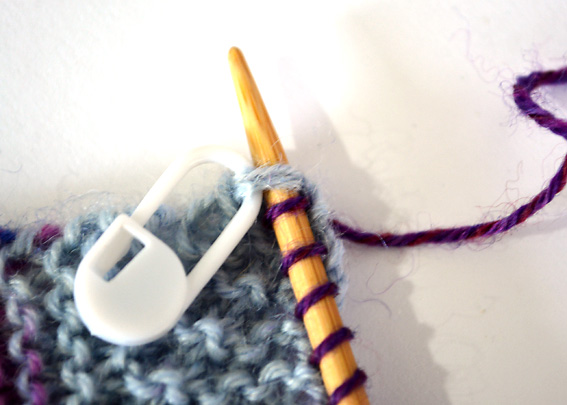
Turn, and knit one row (wrong side). Then knit square 4 in the same way as square 2 beginning on Row 2 (the right side).
- Row 2 (RS): knit to 2 stitches before the marker, k2tog, slip marker, k2tog, knit to end.
- Row 3 (WS): knit
- Repeat rows 2 and 3 until 2 stitches remain.
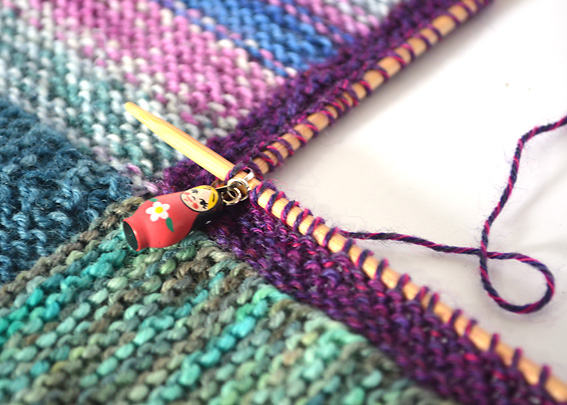
I didn’t attempt to be matchy-matchy or to choose colours that would blend into one another for the back.
For the back, pick up and knit the stitches along the top edge of the cushion front. and I knit garter stitch stripes the same 4 garter ridge widths of the border. For the buttonhole band, knit 2 ridges, in the next row (right side) make 4 buttonholes evenly spaced across this band. Knit 4 rows and then cast off.
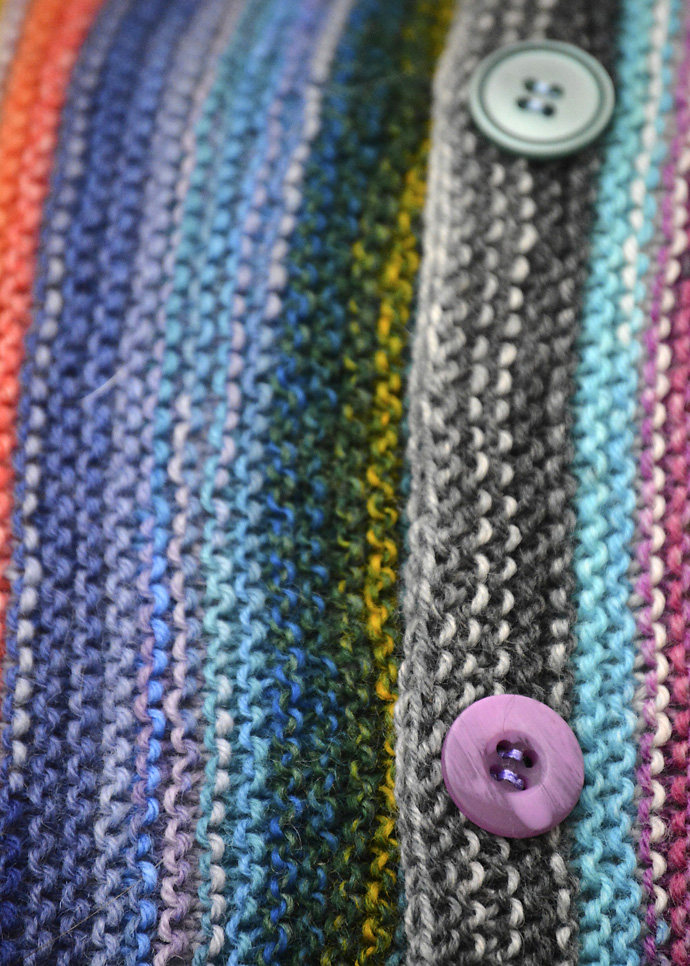
The cushion uses a combination of hand-dyed sock yarns and commercial sock yarns. I love knitting with commercial sock yarns. They work wonderfully well for socks as they are hard wearing and come in beautiful colour combinations and they are reasonably priced.
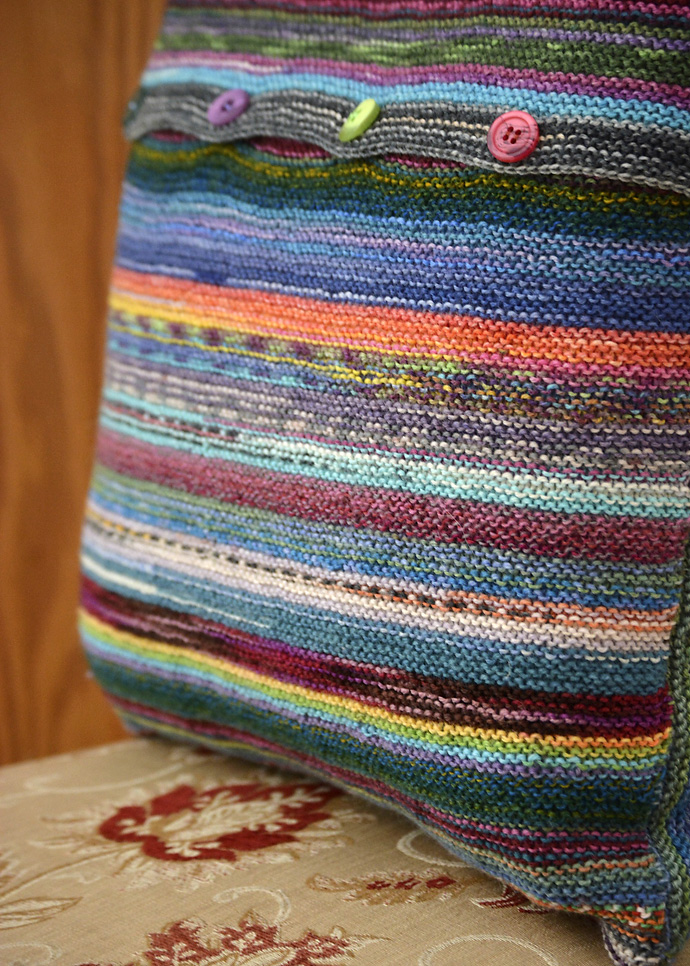
For the back of the cushion, I chose to knit it using garter stitch as that worked well with the mitred squares as the garter stitch in both were worked in the same tension so I knew that the back and front would work well together when they were joined.
A while ago, I bought a mixed bag of buttons. They were all different colours and different sizes. I decided that I’d like to use 4 different coloured buttons (with a 2cm diameter) to fasten the back of the cushion.
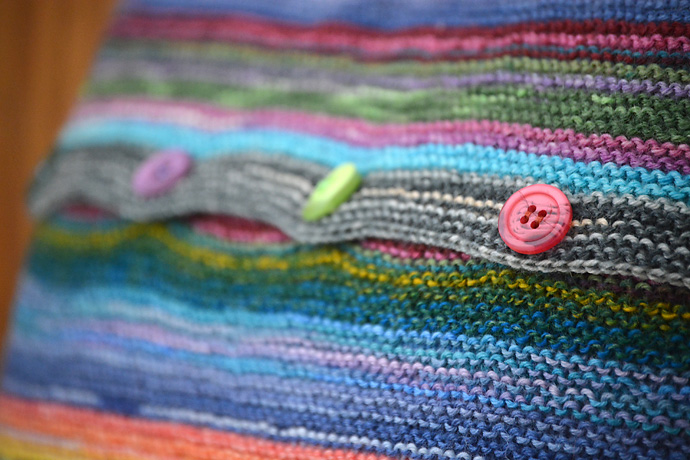
The cushion is lovely. I love the effectiveness of the mitred squares. Use a 16″ cushion pad to turn it into a comfortable padded cushion.
Knitting a mitred square cushion would be a great way of trying a mitred square project if you want to and don’t have a large variety of leftover sock yarn or don’t want to work on a large project like the Mitred Square Blanket.

Love the your mitred square pattern, and having just completed a blanket and thought I would knit some cushion covers to match. However I’ve never done a button band before, and I’m interested in your method. Is there a source you can point me to that explains it. I know you don’t have the time to walk me through it Thank you.
This is so lovely – thank you for bringing mitred squares into my life. I am knitting the blanket according to your instructions and loving it so much.