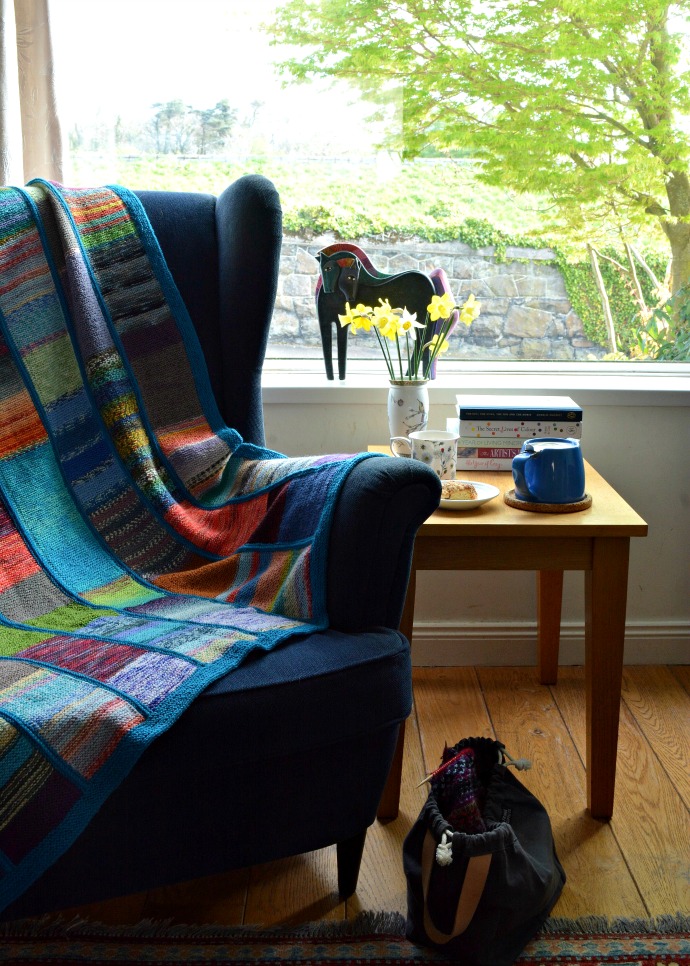
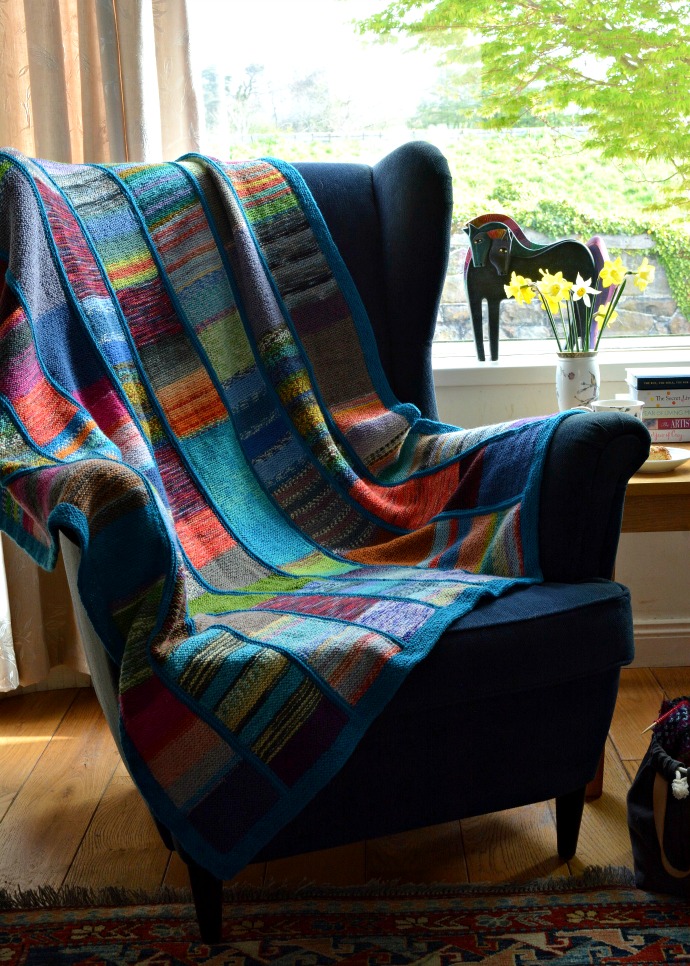
The Striped Blanket combines the simplicity of a strippy quilt with the busyness of leftover colourful sock yarns wonderfully well particularly when edged with the delicious Blueberry Bonbon contrast colour.
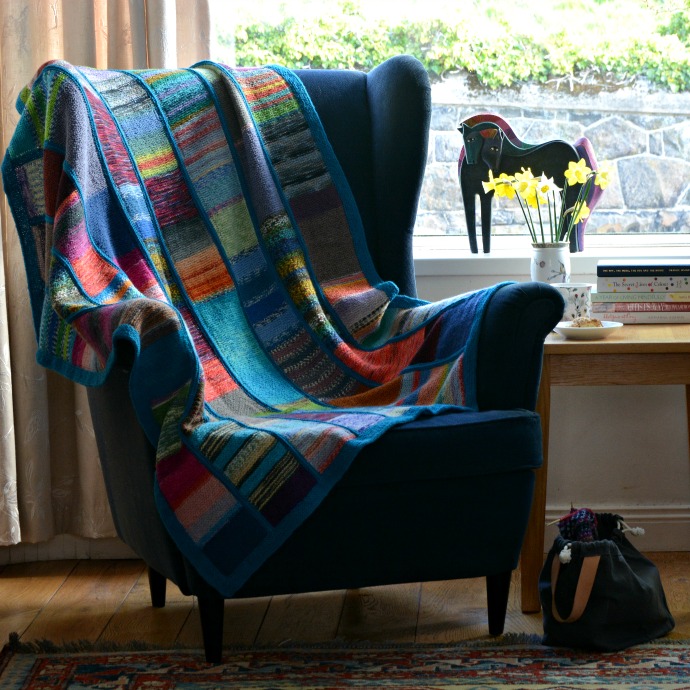
The construction of the Striped Blanket is elegantly simple as I wanted a project that I could easily carry with me and knit anywhere. This soft squishy garter stitch blanket fit the bill.
Inspiration
I used to make patchwork quilts. I loved piecing quilts, whereas, I didn’t enjoy quilting quite as much. I thought of myself as a patchworker rather than a quilter because of this. Planning a quilt, choosing the fabrics, cutting and placing the pieces on my design wall, and then sewing them together, I loved that. But it was hard, particularly with a bed-sized quilt, to manoeuvre it around on the sewing machine when quilting.
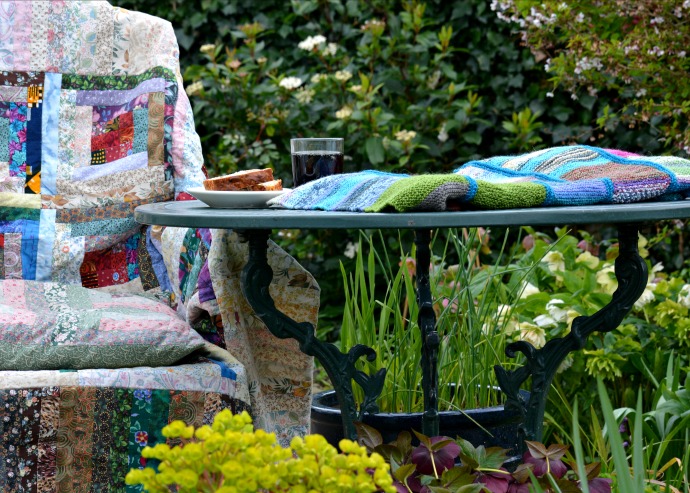
When I was at home with mum, there was more floor space to be able to lay it out and pin the layers together, but after I married and moved into my own home with Neil, I didn’t have the floor space anymore, and this made it difficult to work with bed-sized quilts. The last double-sized patchwork quilt I made was a log cabin patchwork quilt made from hand-dyed cotton that I gave to my sister.
When I was planning my striped blanket, I was inspired by North Country Strippy Quilts and Welsh Strippy Quilts.
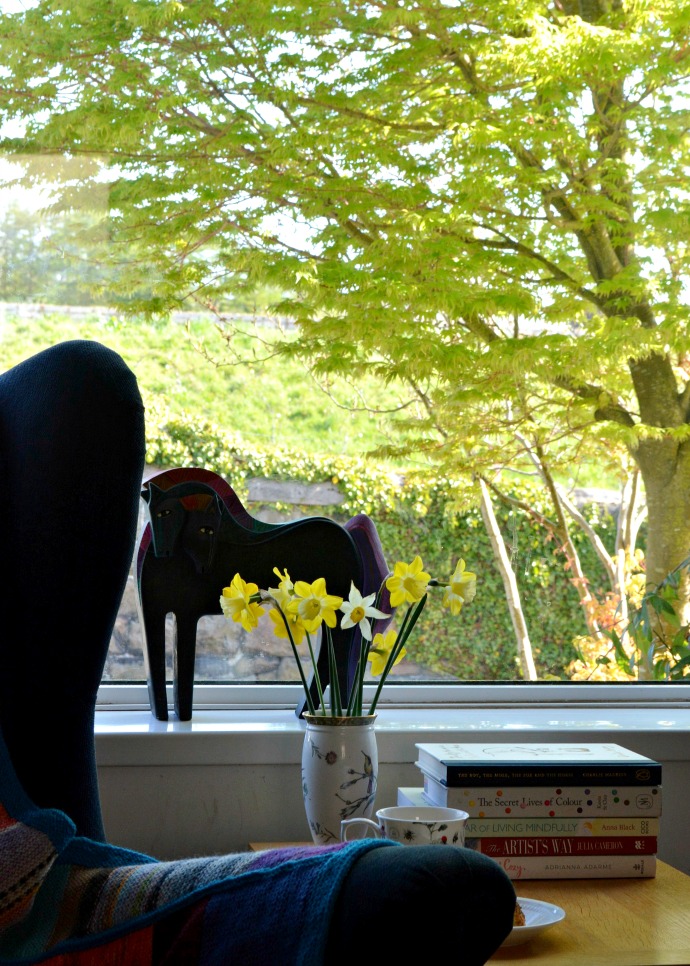
I had the elegance of their stripes in mind as I cast on my first panel. The Striped Blanket is a combination of my two loves of patchwork and knitting.
There are strong similarities between a vintage hand-stitched strippy quilt and a hand-knit sock yarn blanket. Each is hand made and stitch by stitch, the maker puts a bit of themselves into the beautiful blanket in their hands.
Choosing the Yarn
I started by taking out a couple of my plastic storage boxes of leftover and part balls of sock yarn. I have a large collection of oddballs of sock yarn as I’ve been knitting with this yarn for longer than I like to remember… and the leftovers mount up. I’ve knit hundreds of socks for myself and family, as well as sweaters for Sasha Dolls over the years and with all of these projects, there is always some yarn remaining. Unless it is a very small piece, it gets stored in one of the boxes. The benefit of this is that the majority of my stash is 4ply and sock weight yarn with the addition of Shetland wool, lace weight and a little DK.
This is particularly helpful for knitting a project like the Striped Blanket because I’m not trying to combine different weights and textures of yarn.
Magic Balls
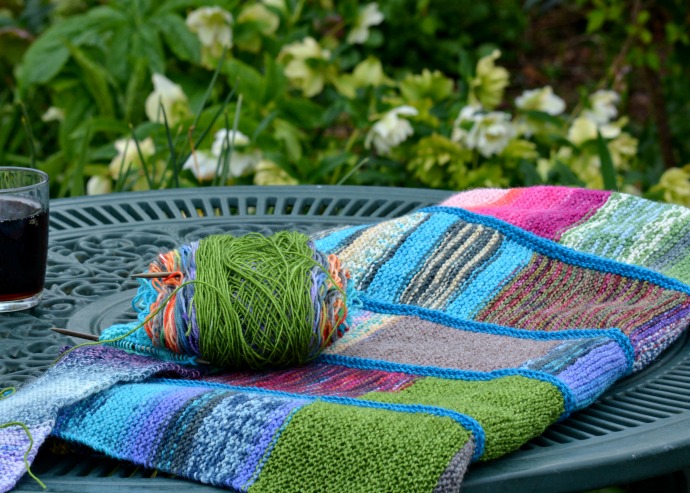
I started by making Magic Balls of sock yarn and 4ply yarn and only used yarn that had some strength to it. If you try to use a yarn like shetland wool or a single ply, it will break when you’re tying the magic knot and pulling it taut.
There are lots of videos on Youtube showing how to tie a magic knot. I watched the Very Pink video and found it helpful. Her videos are very informative and her Youtube channel is worthwhile subscribing to.
I got a little carried away when I was making the magic balls and ended up with fifteen of them. Magic balls are very versatile as you can easily add another colour when you want or need to.
When I was making the magic balls I chose the yarns at random. As I don’t knit with yellow very often, not much yellow showed up, in the finished blanket. On the other hand, I love blues, purples and greens so unsurprisingly, these colours are quite dominant. I didn’t try to plan colours or the order in which they were added to the magic balls. I just set up the ball winder, turned on a movie and wound each yarn on until I thought I’d added enough, then tied the next yarn on. On average the magic balls are 150g in weight, but it varies between 122g and 170g.
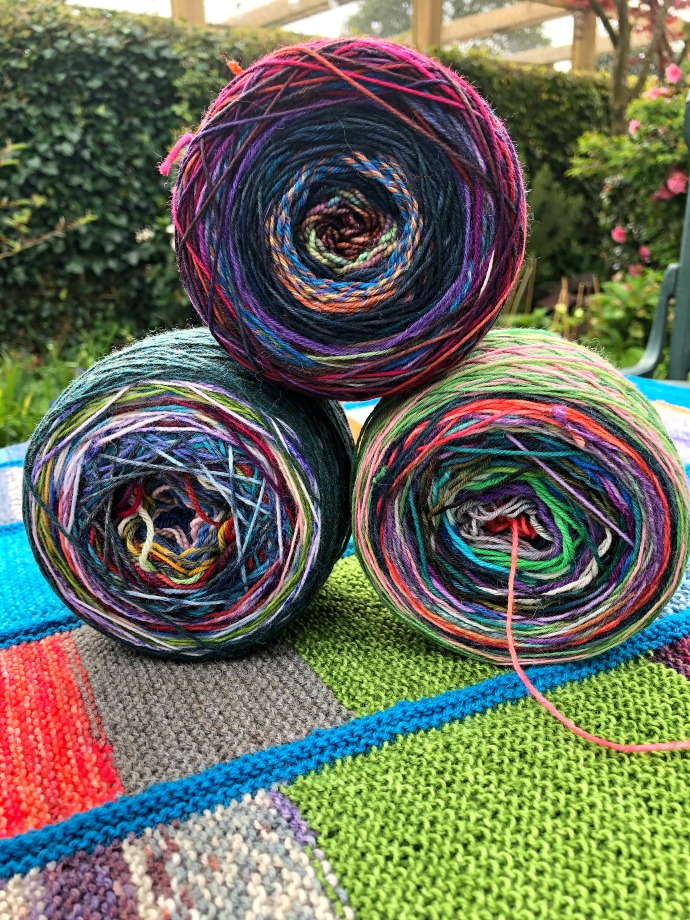
After tying the magic knot, you can cut the tails very neat to the knot, but I choose to leave a little bit of length to the tails at this stage when I reach a knot when I’m knitting, I always pull it taut again before knitting with it, and I may neaten up the tails a little more at that stage. I just like to make sure the knot is holding before knitting on. In Garter stitch, the knots aren’t overly obvious, but you do know they are there.
When knitting the panels, I made sure that a knot didn’t appear at the edge. If necessary, I cut a piece out and retied the knot.
Materials
The quantities of yarn that I state are exactly what I used. You may need more or less yarn than this, depending on the tension you knit with, needle size, type of yarn, size of the blanket, etc. This style of knitting is very flexible, you just attach an additional yarn when you need it.
I used additional cables and caps as I left border stitches live for knitting the I-cord bind off. This worked for me as I have a couple of sets of Interchangeable needles.
- 130g WYS Signature 4 ply 365 Blueberry Bonbon – for joining panels, borders and I-cord bind off
- 540g of Magic Balls – each strip/panel weighed 60g
- 4 x 100 cm (interchangeable) cables and caps to prevent stitches falling off
- 2 sets of Interchangeable 3.75 mm needle tips
- 2 double-pointed needles 3.75 mm
- 1 double-pointed needle 3.5 mm
- tapestry needle
Finished Size
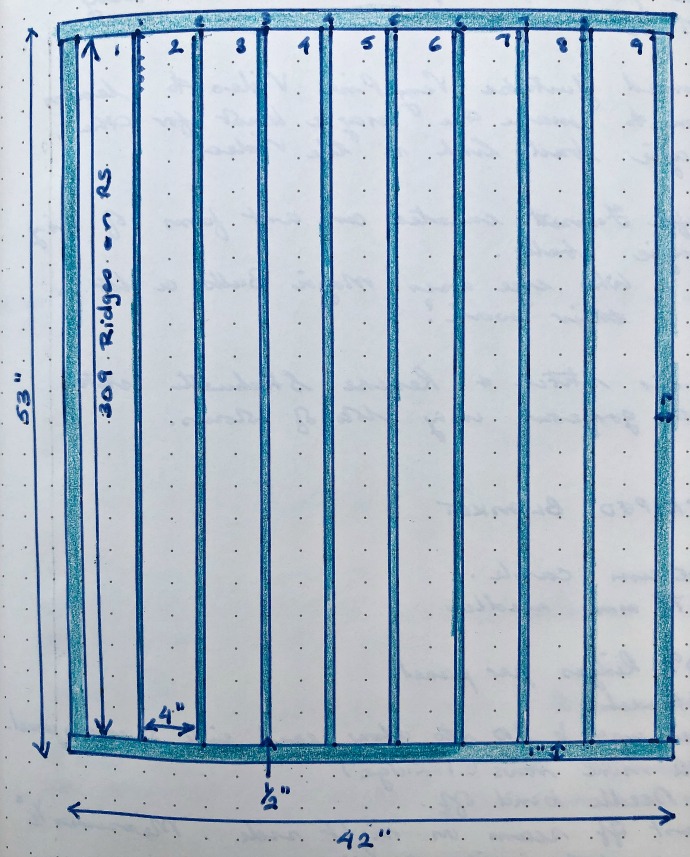
- Striped Blanket 42″ (106 cm) wide x 53″ (134 cm) long (lap throw size)
- Finished Striped Blanket weighs 670g
- Finished size of each garter stitch panel is 4″ (10 cm) wide x 51″ (129 cm) long
- Width of joining stripes 1/2″ (1.25 cm)
- Width of border 1″ (2.5 cm)
Garter Stitch Panels
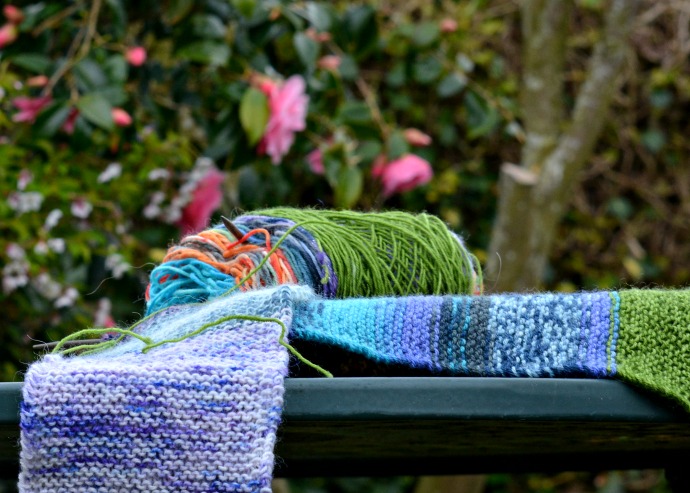
Knit 9 of these in garter stitch.
- Cast on 25 stitches using the 3.75 mm double-pointed needles.
- Every Row: slip the first stitch, knit to the end, turn.
- Knit 309 garter stitch ridges for each panel (618 rows), then cast off.
- Finished size of each garter stitch panel is 4″ (10 cm) wide x 51″ (129 cm) long
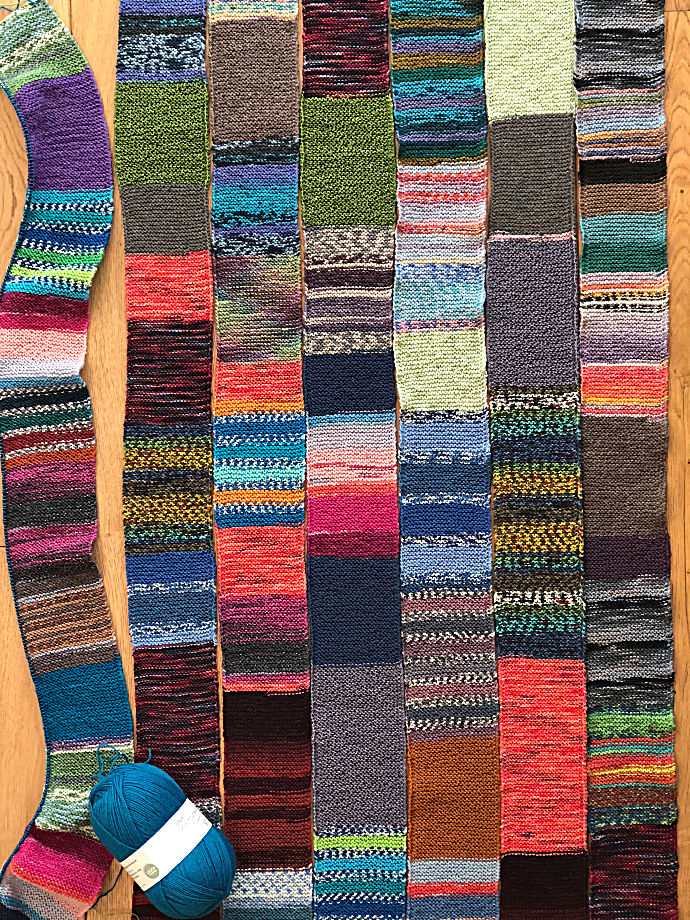
When I had 7 of these finished I laid them out on the floor to see where the next panels should be placed and what colours I thought would look nice. It helped to see the panels flat when I was choosing the colour to use for joining them and for knitting the borders and I-cord edging. This was not the final order that the panels ended up in, because, I wasn’t that organised.
Side Borders
Choose which 2 panels you want to have at the outside edges of the blanket.
The side borders measure 1″ (2.5 cm).
Then, on the outer edge of each of these two panels:
- Using the long cable and 3.75 mm needle tips, with the right side facing you, pick up and knit 310 sts along the outside edge. I place a marker every 50 sts to make it easier to count how many I’ve picked up and knit. The markers are removed when knitting the next row.
- Continue knitting the side border in garter stitch for a further 10 rows until you’ve 5 garter ridges showing on the right side.
- Change the needle tips to needle caps and leave the border stitches live.
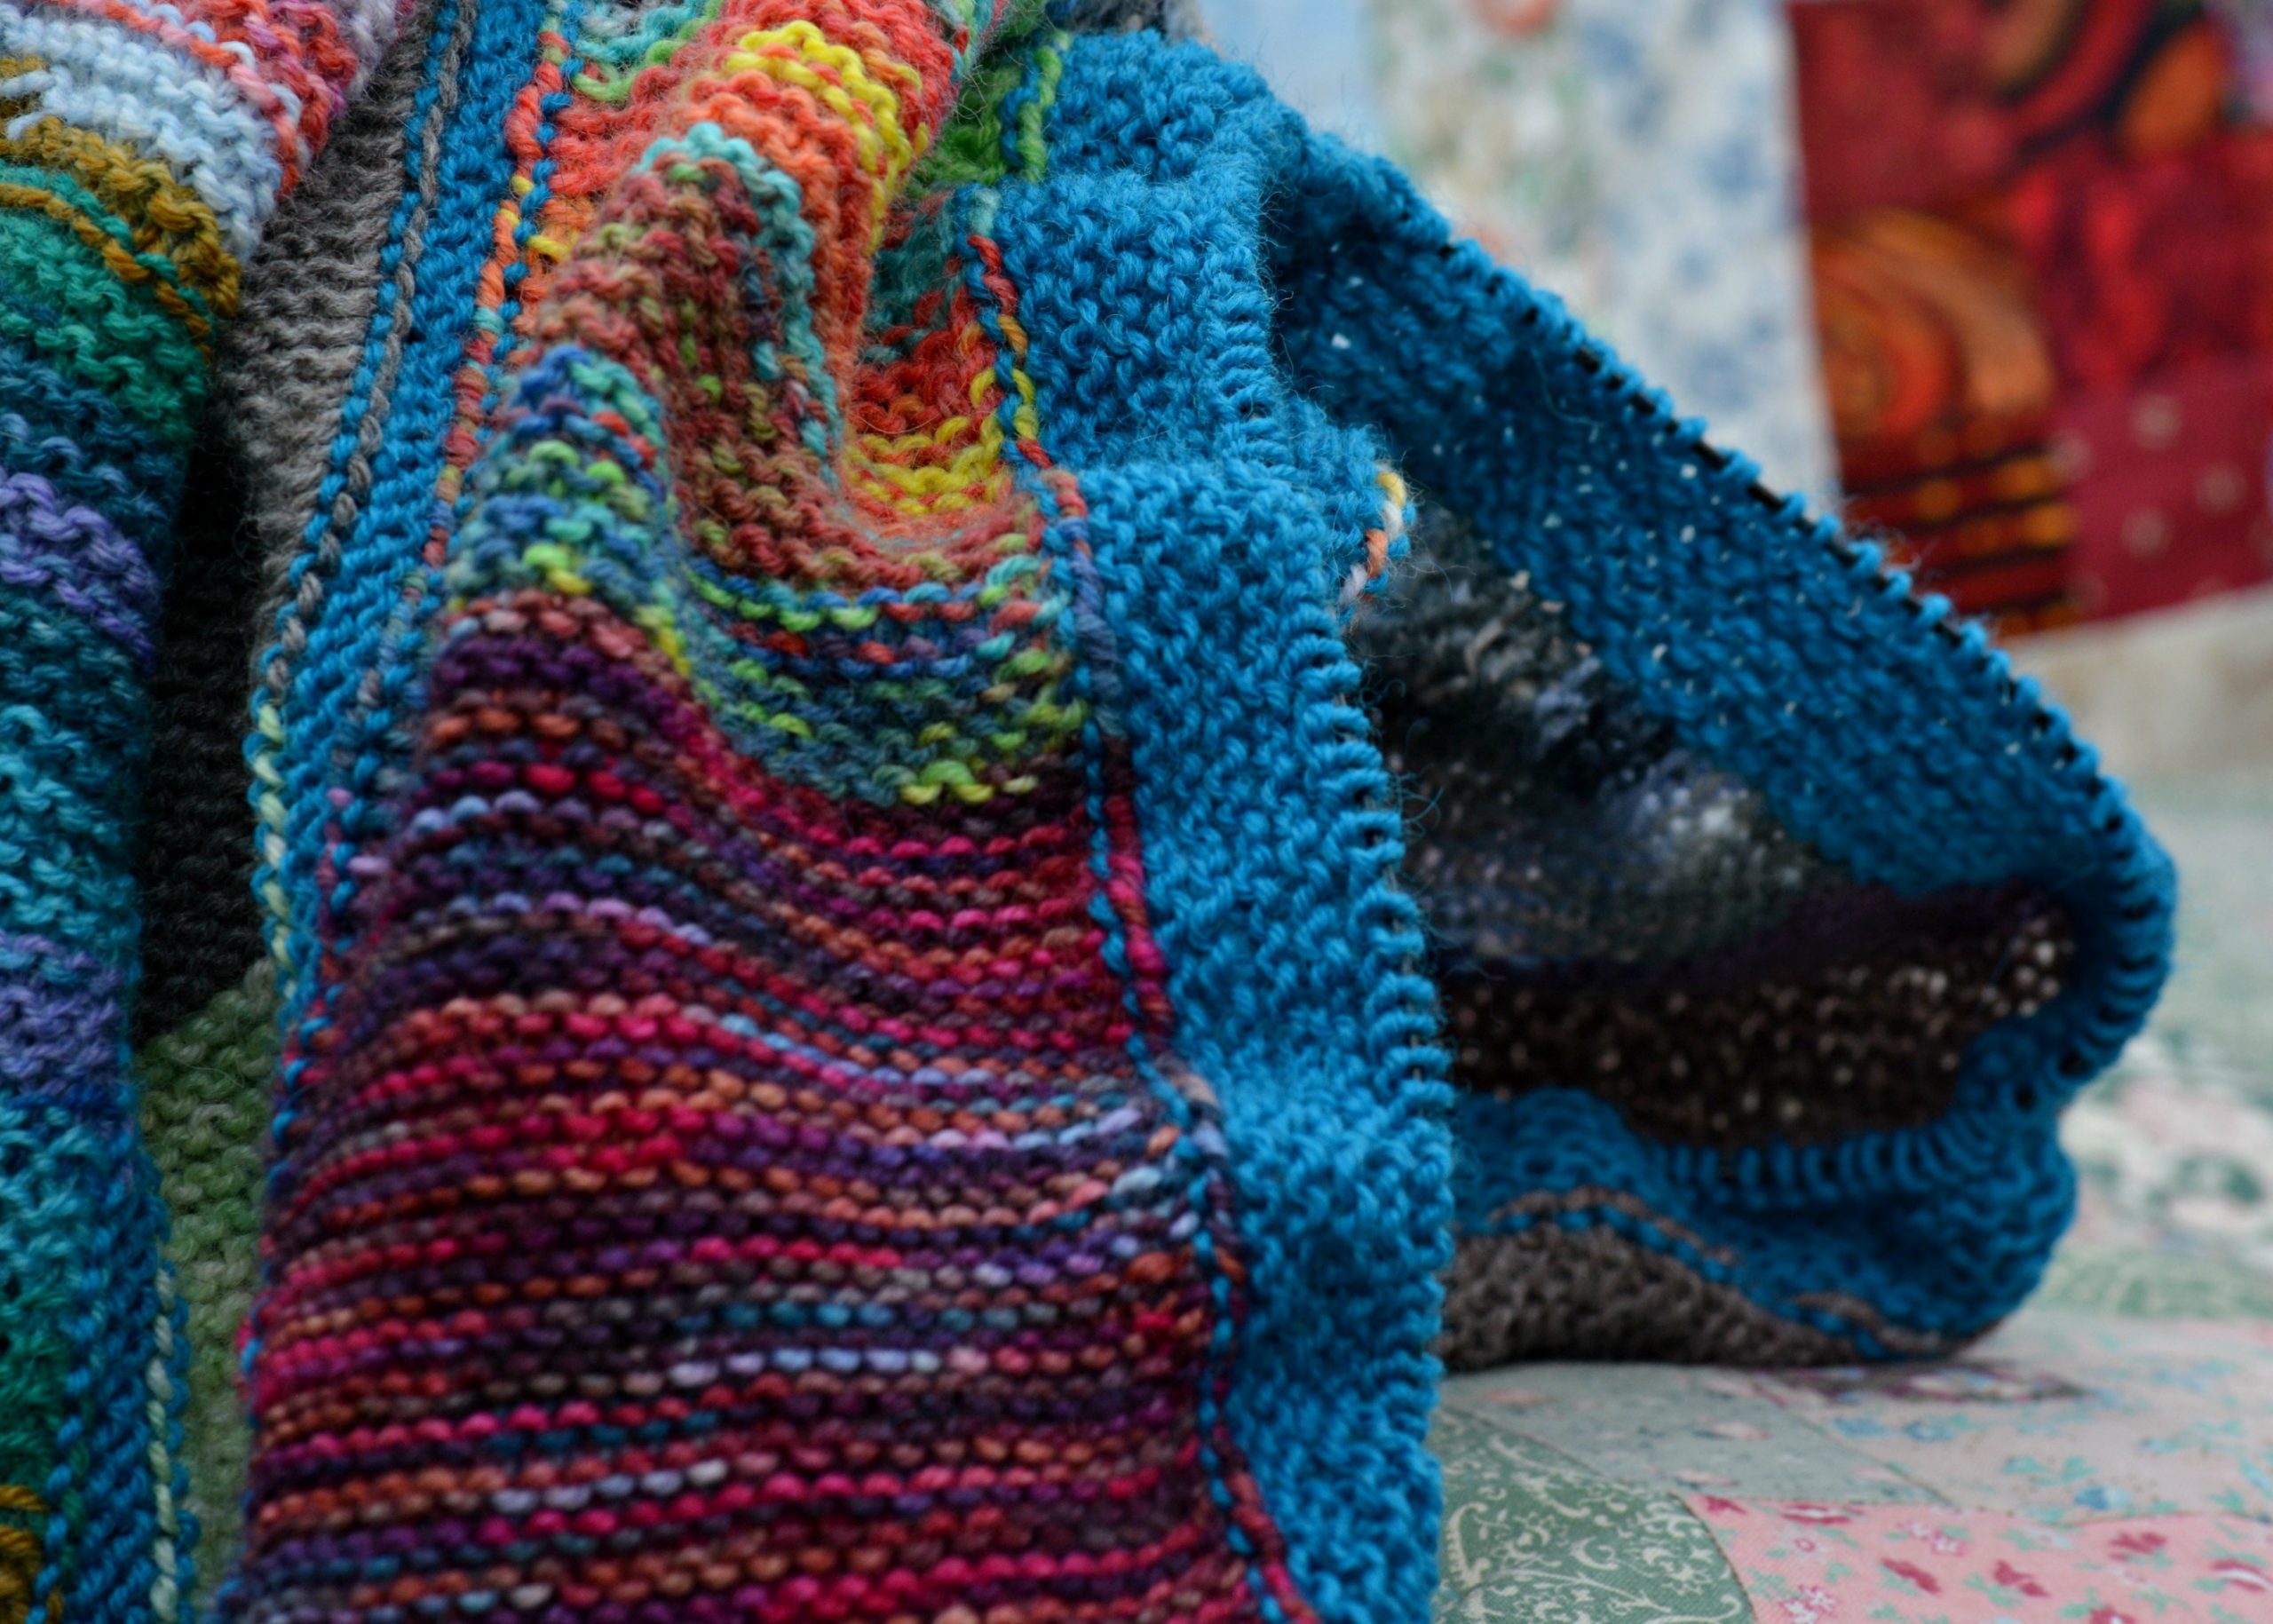
The photo above shows the wrong side of the side border and the joining of the panels. The Striped Blanket looks as neat on the wrong side as it does on the right side.
Joining the panels
I chose to use a 3 needle bind off for joining the panels.
- Using the long cable and 3.75 mm needle tips, with the right side facing you, pick up and knit 310 sts along the edge of the panel. I place a marker every 50 sts to make it easier to count how many I’ve picked up and knit. The markers are removed when knitting the next row.
- Knit 2 more rows (1 garter stitch ridge)
Do this for both of the edges that you want to join to each other.
- Then using one of the 3.75 mm DPNs as your working needle,
- Hold the two sets of stitches that you want to cast off together, wrong sides together and right sides facing out. The bind off-seam will be on the right side of the blanket. This means that the join looks like 3 garter stitch ridges. The joining seam measures 1/2″ (1.25 cm).
Continue joining all the panels until they are all joined and the Striped Blanket is ready for the top and bottom borders.
Schematic
I photographed the Schematic that I’ve drawn in my notebook.
Top & Bottom Borders
For both the top and bottom borders
- Pick up and knit 245 sts.
- Knit 10 rows (5 garter ridges)
- Leave on needle cable.
In readiness for working the I-Cord Bind Off I put the needle tips onto the side cables and picked up 5 stitches along the edge of the top border and 5 stitches along the edge of the bottom border. One stitch for each garter ridge.
Stitch numbers before casting off:
- Top Border 245 sts
- Bottom Border 245 sts
- Side Borders 320 sts each.
I-Cord Bind Off (or Cast Off) is also known as Applied I-
- Using the 3.5 mm DPN: k2 sts, k2tog tbl
- Slip 3 sts back onto the cable needle
- Repeat this until you come to the end.
- Either cast off the last 3 sts and sew the two edges of the I-Cord together or graft the two edges of the I-Cord using Kitchener stitch.
The best thing about doing this method of joining the panels and casting off is that the joins and bind off are as flexible as the rest of the knitted blanket. This is the main reason why I left the border stitches live until I was ready to cast off.
Let Me Know…
If anyone would like to see some of these Magic Balls of yarn added to the shop, let me know…
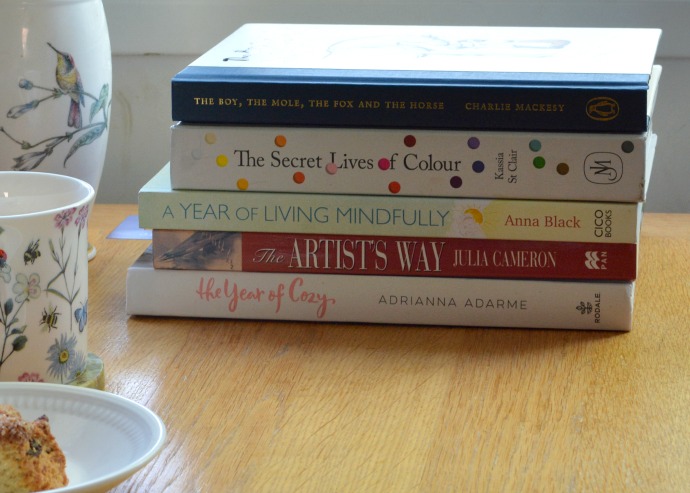
I’m enjoying reading these books at the moment.
- The Boy, the Mole, the Fox and the Horse by Charles Mackesy
- The Secret Lives of Colour by Kamia St Clair
- A Year of Living Mindfully by Anna Black
- The Artists Way by Julia Cameron
- The Year of Cozy by Adrianna Adarme

Hi Nicolette
Just been looking at invisible knots, and bought myself a ball winder!
I use my ball winder all the time. So useful.
Hi Nicolette
Love the sophisticated look of this finished project. Also like the idea of knitting in stripes as it doesn’t make the project that mammoth or heavy.
Do you think knitting in DK would work as well. Have so much in that type of wool left over.
Thanks for the great inspiration!
Bonnie
It would be a beautiful blanket knit in DK weight yarn. really warm and cosy. You would probably want to adjust the dimensions of the blanket to suit your yarn.
Is there any kind of video to show the joining of the panels and the finishing of the borders and icord? Struggling her
Hi Nicolette,
Your blanket pattern is JUST the one I have been looking for. It is so very pretty! I have a question, however. I would love to knit the panels in stockinette, do you think that work as well? Could I join them, using stockinette as well?
Many thanks
Jennifer
Garter stitch is a very balanced stitch. There is no reason why you cannot use stockinette as you would be purling on the back of the mitred square. You may find that you get some curling in the finished squares though. You should be able to join the squares in the same way. It would be a good idea to do a practice square to make sure it is actually turning out as a square.
Is your slip stitch st. At beginning of row…as to purl with yarn in front…or as to knit?
I normally slip as to purl but really it is how you like how it looks best.
Thanks so much! I love knitting one of a kind scrappy things…would love someday to have an on line shop selling scrappy creations😃
I’m sure you will! Good luck.
Hi Nicolette! Thanks for your detailed instructions. I started a striped blanket and went searching for measurements, when I came across your wonderful website. Thank you once again.
Gorgeous!
I have just started one. Hope mine turns out as beautiful as yours.
Thank you for the inspiration.
– Julie
It is a really enjoyable project to knit.
This is a gorgeous blanket with wonderful easy to understand explicit instructions. I have knit mitered square, mixed size sqqare, and block quilts, but love your idea of striped panels. I will have to go through my stash of leftover yarn .. I am not a sock knitter so mine will be a different weight. Thank you for sharing !
I knit a mitred square blanket for my niece for Christmas using Aran weight yarn and it turned out great.
This is absolutely gorgeous! I love it. Thank you for sharing that with everyone.
Absolutely loved that blanket, I’m in Australia, and although I’ve made many patchwork knitted blankets I’ve always used 8 ply wool, and am not familiar with the sock yarn, however I am so impressed with the beautiful blanket you produced I will research the yarn, and check utube for some of the instructions I didn’t really understand.
Absolutely loved that blanket, I’m in Australia, and although I’ve made many knitting projects, I’m not really familiar with the 4 ply sock yarn, or a couple of your instructions, however I am so inspired by that beautiful blanket I will endeavour to hunt out some similar yarn and check utube for instructions.
I have made all my grandchildren knitted patchwork rugs, I’d like this one for myself.
Thank you again for showing us such an inspiring project.
Jan ..Australia
Jan, if you’re looking for wonderful Australian produced 4ply (sock yarn,) I HIGHLY recommend you take a look at Bendigo Woollen Mills. Their colours are stunning.
As per usual Nicolette, your work is both stunning and inspirational. Thank you for sharing 🥰
Nicolette. What a wonderful idea. I have balls of sock , i don’t do socks that much anymore
I really enjoy reading your ideas and trials. Keep up the good site. Stay happy
Yes please I am interested in seeing the Magic Balls of yarn. They really do look nice, thank you.
PS How much yarn is required for the join and border, which it seems important to keep consistent?
I used 130g WYS Signature 4ply Colour 365 Blueberry Bonbon – for joining panels, borders and I-cord bind off. It could take more depending on the width of your borders and the length of the striped panels.
I too have years worth of leftover sock yarn, and more whole balls than I can ever make socks of. Thanks for the inspiration of your stripey blanket. Some of my leftovers will be used to make Knubbelchen (check out on Ravelry) for the great grandchildren I may not live long enough to see, but now I have another possibility!
Hi Heather, I hadn’t heard of the Knubbelchen before. They are adorable. It is great to find enjoyable projects to use up all of our leftover sock yarn. Hopefully, you’ll get to see your great-grandchildren at some time in the next few months. It is a strange world at the moment.
Haha, no there are none nor any in prospect as the grandchildren themselves are still in school or out just getting started in life and a long way from settling down.
Well you could have my lot ! 19 grandchildren & 14 great grandchildren !! Love to knit for them but I can’t keep up ! Some are too big now .
brilliant. i must try one!!!