Grafting the Toe
Grafting or Kitchener Stitch is an excellent way of finishing the toe in a smooth neat way. But if you prefer, you can miss out the grafting stage and gather the remaining 8 stitches, pull them tight, and sew in the end firmly.
Set Up for Grafting
To graft you need to do a set up stage first.
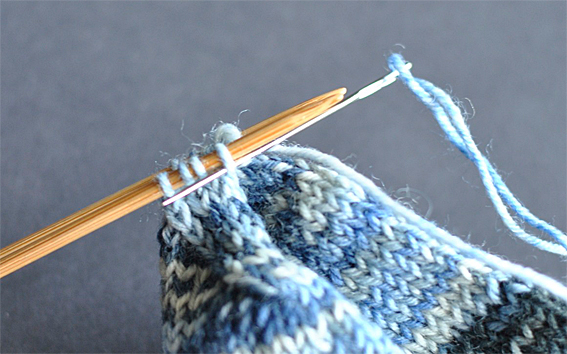
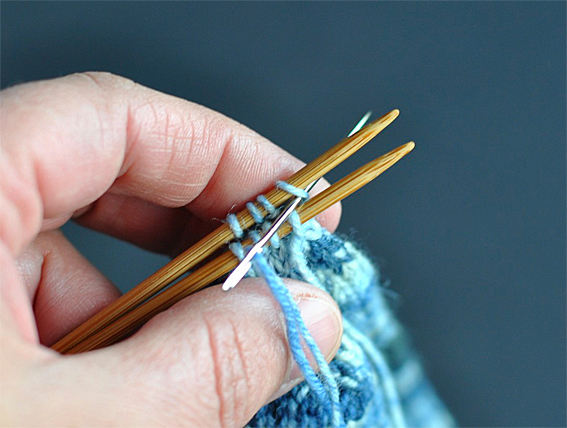
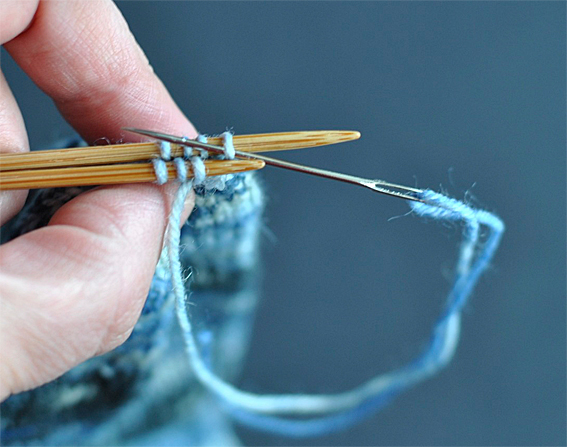
- Insert the threaded tapestry needle into the first knit stitch on the front double pointed needle (the dpn nearest to you) as if to purl, then pull it through and leave the stitch on the dpn.
- Then, insert the tapestry needle into the first knitted stitch on the back dpn as if to knit, and pull the tapestry needle through leaving the stitch on the needle.
Grafting Stage 1 – Front Needle
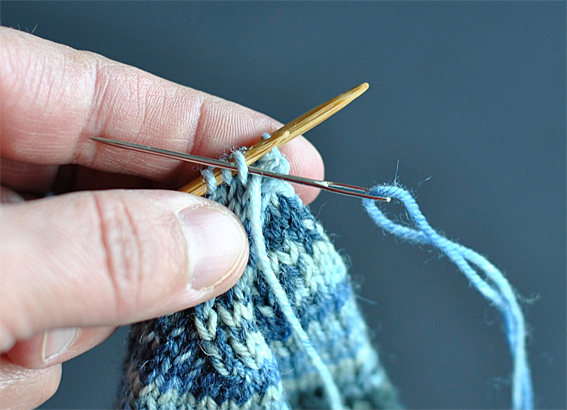
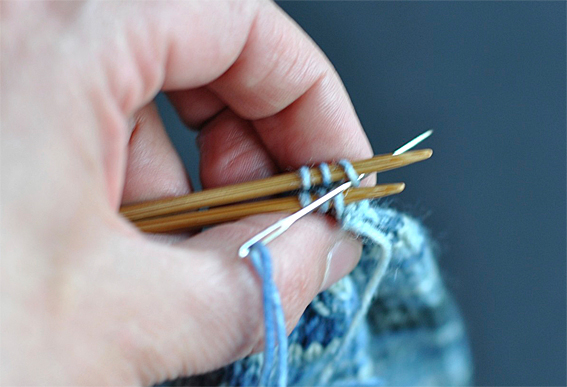
- Insert the tapestry needle into the first stitch on the front dpn as if to knit and slip the stitch off the dpn
- I normally pull the yarn through this stitch fully.
- Then, insert the tapestry needle into the next stitch on the front dpn as if to purl, and pull it through and leave this stitch on the double pointed needle.
Grafting Stage 2 – Back Needle
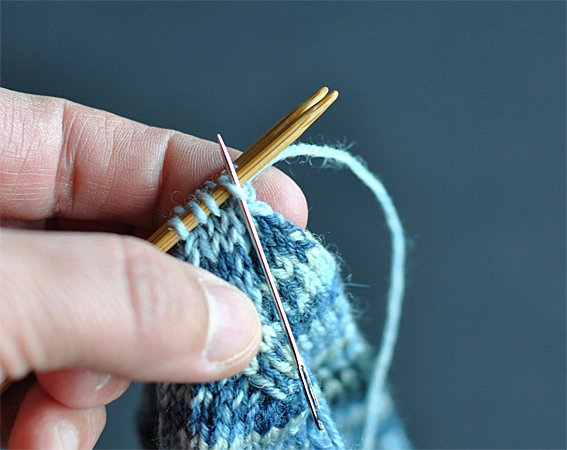
- Insert the tapestry needle into the first knit stitch on the back double pointed needle as if to purl, and slip this stitch off the dpn.
- Then, insert the tapestry needle into the next stitch on the back double pointed needle as if to knit, and pull the needle through leaving the stitch on the dpn.
- Continue repeating grafting stage 1 and then stage 2 until you have grafted all the stitches together. It is easy to use your tapestry needle to adjust the tension of the grafted stitches if they are slightly loose or tight.
Finishing At the Toe
In most patterns, they end with sentences such as ‘sew in any loose ends’. As this is a step by step series on knitting your first sock, I am covering every stage in detail and I’m not making any assumptions as to how advanced the knitter is who is knitting their first sock. When I was first knitting socks, I used to google surprisingly simple questions, and I now take the answers that I found out for granted.
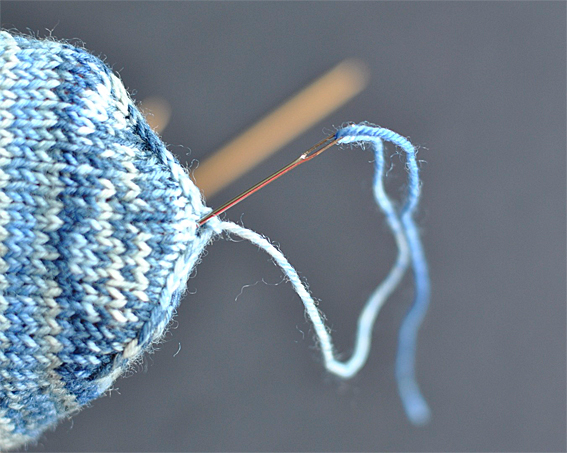
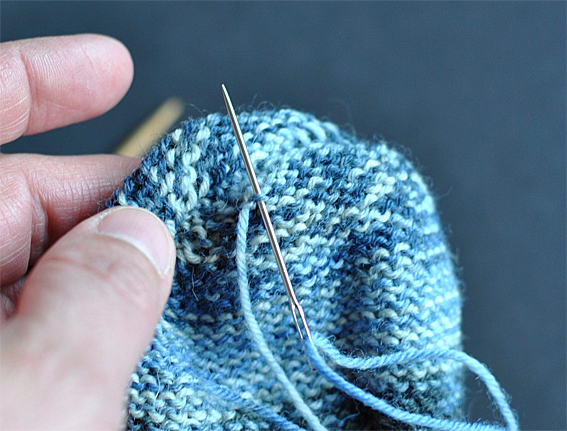
- Take the needle through to the inside of the sock. Take care not to prick your finger or to take the needle through both sides of the sock.
- Turn the sock inside out.
- It is important to be careful you don’t sew both sides of the sock together when you are sewing in the loose end. I have done this more than once! Check for this before you cut off your yarn at the end.
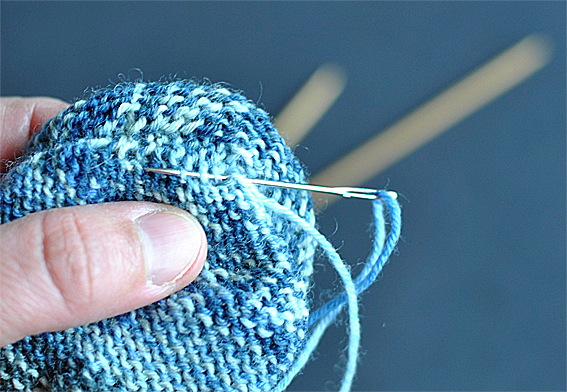
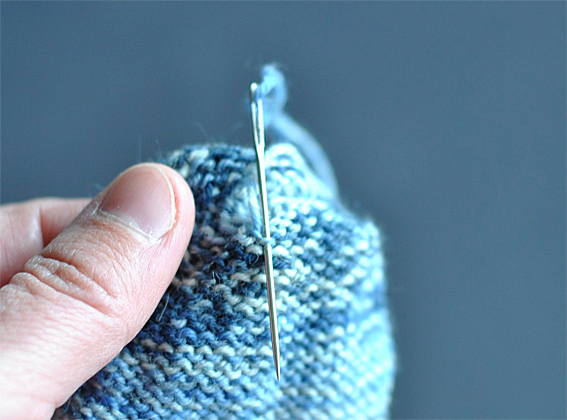
- Start by slipping the needle through several of the ‘reverse stocking stitch bumps’ at the shaped edge.
- and ‘down’ with the flow of the bumps.
- Take care not to pull the yarn too tight which causes the stitches on the right side to look distorted.
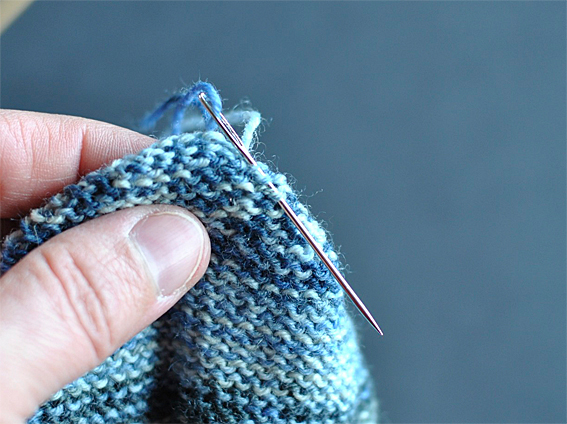
- Finally, slip the needle through several of the bumps along the other shaped edge, pull the needle through.
- Cut the end leaving about 2 cm which prevents the end from migrating through to the right side.



Hello Nicolette! After knitting zillions of socks, I always dreaded the Kitchener Stitch ordeal, as shaky hands and forgetfulness made what should be a simple and straightforward process complex! Your up-front pictures and wise advice made my sock-knitting something to anticipate and enjoy. Socks and Old Man Kitchener here I come! Barbie from Texas.
I’ve not knitted a pair of socks yet(it’s on my list though) but I used this tutorial to close a Christmas stocking that I knit for my sister. Thank you so much for the clear instructions, they were a big help!
Well your stocking was probably similar construction tha a sock.
I have followed Kitchener on other sites, but this is the Best Kitchener instructions ever – no rubbish, just how to do it. thanks so much.
Glad you found it helpful.
Hi there, that was the first time I have successfully grafted the toe of a sock, so thanks
Great! First of many!
So helpful, thank you for posting this!
Thanks so much for the kitchener instructions. I used to know them by heart when I was doing lots of knitting a few years ago. After having problems with my hands and a wee op on them I had given up on knitting. However when I was in a wool shop a few weeks ago and saw some pretty sock wool thought I would try again. Was great till I got to grafting the toe, however thanks to you I managed to finish them. Thank you so much. IRENE BRUCE
I’m glad you found the post useful.
Thanks very much for explaining the Kitchener weave so clearly! I have been knitting socks for a long time and this is the first time I am delighted with the finish. I’m looking forward to following you, thanks again from an Aussie xx
Thank you Adrienne, much appreciated, Nicolette
I’ve been knitting socks forever and have always struggled with grafting the toes. This is the best tutorial ever! Thanks so much for posting it and thanks even more for making it a freebie!
Hi, I have been knitting socks for some years but have fallen in love with your sock Pattern! It is the best one I have ever knitted socks from. Many thanks. Love your site it’s beautiful.
Many thanks
Jackie
Absolutely the best instructions for kitchener stitch. So much better than a youtube video as you can work at your own pace, with the instructions there in front of you. I finished my socks in no time at all and they look great. Many thanks. Robyn in Oz
Excellent instructions. The very best. I felt like you were sat at the side of me anticipating any possible problems I might have. Many, many thanks.
I think there could be one additional step in this tutorial: what to do when you have only two stitches left. Because you can’t insert the needle into the next stitch. Otherwise great tutorial!
Thank you so much for these really helpful instructions. I wish I’d found your site earlier. Will definitely be back for sock no 2.
Just wanted to say that your instructions are excellent….very easy to follow the photo’s and the written words….I have tried other sites but yours is the very best, my socks look very professional dare I say…thank you 😊.
So pleased to have helped. Thank you.
Thank you for this very clear and concise instruction. Very easy to follow both words and photos. My first grafted sock toe worked perfectly. Now for the next one!
Wonderful, enjoy wearing your new socks!
Thank you for your clear directions. I am knitting my first pair of socks for my son who is turning 40 in May this year.
Meri
What a wonderful present. I’m sure he will love them.
would like instructions to graft sock toe for a left hand knitter
Check this youtube video for kitchener stitch left handed. I hope it helps.
Aha! This is where I started my first Kitchner Stitch comment and lost it.
Couldn’t find my way back to this particular blog.
I left a comment on the blog for the #4 series of ” How to Knit Your First Sock” ending with the grafting method. Sorry–I’m a senior and have these problems with computers.
Do so love the series! Joyce in Utah
Hi Joyce
I did a quick a quick cut and paste job from the 4th part of my How to Knit Your First Sock to create this post. I’m forever linking to the 4th part to show how to do the Kitchener Stitch when I’m writing new posts and I thought it would be easier for readers if I didn’t make them search through the whole post to find the grafting bit!
So pleased you find the series useful. Many thanks for your comment. Nicolette