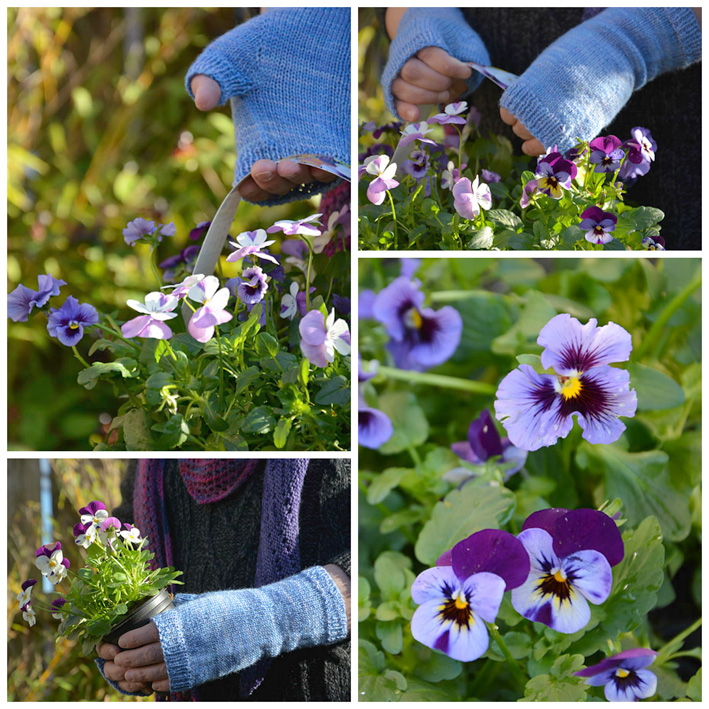
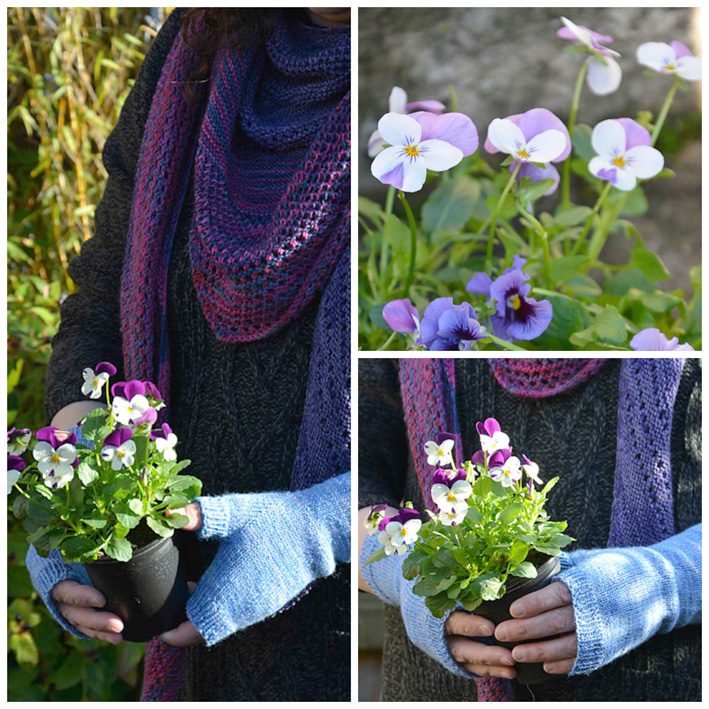
There is nothing as lovely as Winter Pansies. So pretty and now planted in our window boxes so we can enjoy their cheerful faces over the next few months.
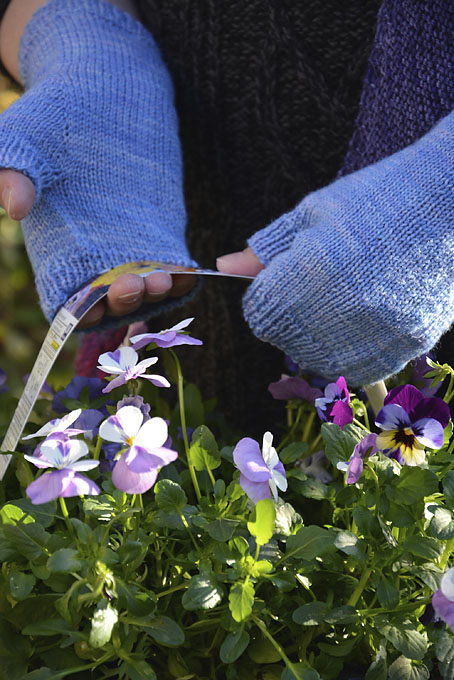
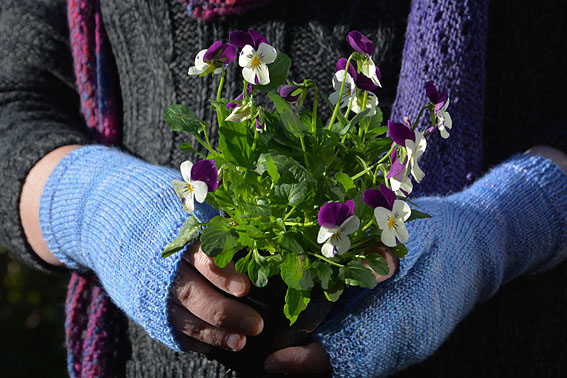
These fingerless mittens were knit using my basic fingerless mitts pattern with a few tweaks. I wanted the mitts to be a bit longer at my wrist and slightly shorter on the hand section. I also narrowed the hand section slightly before knitting the cuff at the fingers.
I used 2.75 mm dpns and my KS Merino 4-ply hand-dyed yarn in a gorgeous semi-solid bluebell colour. Several layers and tones of lilac and blue create richness and depth in the colour. The KS Merino 4ply is a superwash sock yarn which is perfect for fingerless mitts as they can be easily washed along with the hand-knit socks.
The Pattern
Knit two mitts the same for the pair – there is no difference between right and left hands in this basic fingerless mitten pattern.
Abbreviations:
- dpns – double-pointed needles (I prefer bamboo needles)
- k1 – knit 1 stitch
- p1 – purl 1 stitch
- st st – stocking stitch = knit all stitches when working in the round
- m1 – make 1 stitch
- k – knit
- sts – stitches
Materials:
- 1 ball of sock yarn or 4 ply yarn (approx 40g)
- set of 2.75mm dpns
- stitch marker
- sewing needle
Using 2.75mm dpns and 4 ply sock yarn cast on 53 sts loosely. I use a slightly larger-sized needle, usually 3.25mm, to cast on and then change to the 2.75mm needles before starting the rib. When joining the knitting into a round on the first round knit the first and last stitch together. This gives a smoother finish to the cuff.
Cuff
- On the first round of k1 p1 rib join into a round (13 sts on each dpn needle).
- Work 9 rounds of rib for the cuff.
Then knit 25 rounds of stocking stitch or the length you would like for the wrist section.
Shaping for Thumb
- Next round: m1, place marker, k to end of the round
- Round 1: k to the marker, slip marker, k to end of the round
- Round 2: m1, k to marker, m1, k to end of the round
- Repeat rounds 1 and 2 until there are 21 sts between the marker and the start of the round. These are the thumb sts.
- Then k 5 rounds slipping the marker each time you reach it.
Hand
- Next: place the 21 thumb sts onto a piece of waste yarn and remove the marker.
- Cast on 2 sts (the easiest way is to make loops onto the needle you have just finished knitting with). The 2 new sts will be part of the thumb. K to the end of the round. (54 sts)
- Next: k 14 rounds.
- On the first round of ribbing, k2tog, (p1, k1) 12 times, p1, k2tog, (p1, k1) 12 times, p1 (52 sts).
- Work 7 rounds of k1, p1 rib.
- Cast off in rib.
Thumb
- Slip the 21 sts that are on the waste yarn onto 2 dpns.
- Starting in the centre of the 2 cast-on sts pick up and k3 sts then k5 sts from the needle – you have 8 sts on needle 1.
- k10 sts onto needle 2.
- k6 sts onto needle 3 and then pick up and k2 sts – you then have 8 sts on needle 3. (26 sts for the thumb)
- k 1 rounds in st st
- Then work 7 rounds of k1, p1, rib
- Cast off in rib.
Finishing
Sew in any loose ends. If you have any little gaps where you have joined the yarn for the thumb you can close these up as you do this.
I washed my fingerless mitts and allowed them to dry flat.
Happy Knitting!
Enjoy wearing your new fingerless mitts as the weather starts to get colder.


I'd love to hear from you. Let me know what you think...