The Blue Rainbow Socks are the sixth post in the Rainbow Socks Collection Series which started with the question ‘What is the Perfect Basic Sock Pattern?‘.
Design Choices
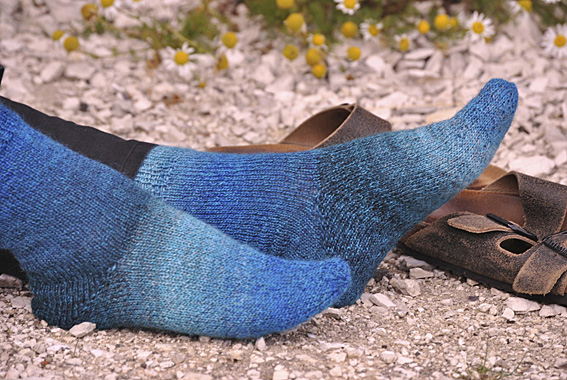
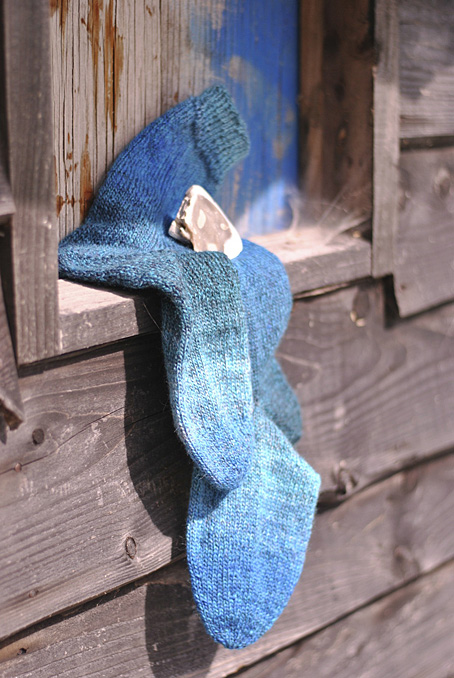
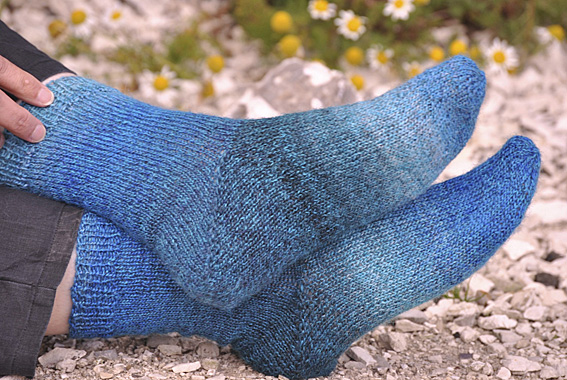
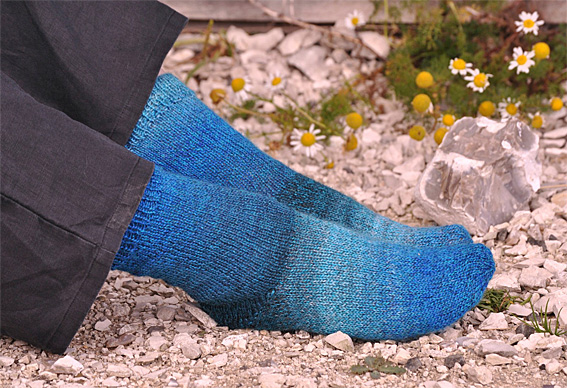
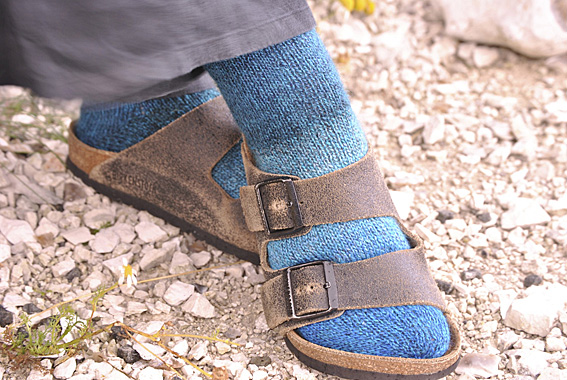
I used a lovely Regia Hand Dye Effect sock yarn in shades of blue for the Blue Rainbow Socks.
These socks have a knit 1 purl 1 rib for the cuff, a wrap and turn short row heel and finish with a pretty star toe. I did a bit of reading on wrap and turn short row heels before I started. I wanted what the best way would be to give my heel the roominess it required and keep the sock the sock comfortable. I tried using a different percentage of the total stitches for knitting the heel. On a plain sock like this it has been successful. Not sure how it would work if you were adding pattern from the leg running down the top of the foot.
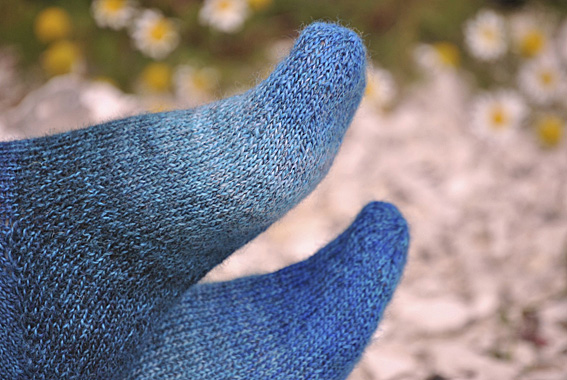
The star toe was really easy to knit and has a lovely look. It involved no grafting at the end so is a very easy toe to do.
Blue Rainbow Socks Pattern
Please note that the Blue Rainbow Sock Pattern is a one size free pattern. The sock is easy to try on after the gusset shaping while knitting the foot which helps you decide when to start the toe. The toe measures 5cm (2″) in length once it is finished.
Yarn
- 1 ball of Regia Hand-dye effect 4 ply sock yarn, 6559 Aquamarine.
Needles
- 3.5mm double pointed needle (dpn) for casting on.
- 2.75mm set of five double pointed needles (dpns) for knitting sock.
Tension
The tension for this sock is 21 rows and 15 stitches / 5cm (2 inch) square in stocking stitch (stockinette). 7.5 stitches / 2.5cm (1 inch). This yarn is a loosely spun sock yarn that knits into a very soft warm sock.
Abbreviations
double pointed needle(s) – dpn(s); stitch(es) – st(s); knit – k; purl – p; Wrong Side – ws; Right Side – rs; Wrap and Turn – w&t; knit 2 stitches together – k2tog;
Cuff
- Cast on 60 sts using 3.5mm dpn.
- Evenly divide sts onto four 2.75mm dpns. Take care not to twist the sts when ribbing the first round. 15 sts on each needle.
- Work 16 rounds in k1, p1 rib.
Leg
The yellow sock is in stocking stitch (stockinette stitch). When working stocking stitch in the round it means that you knit all the stitches until you start the short rows for the heel.
- Knit 51 rounds.
About the Short Row Heel
Normally, I place all the stitches for knitting a heel onto one needle. While reading about the short row heel, I found out that it is better to keep the heel stitches on two separate needles so the wrapped stitches don’t get stretched out of shape. This makes sense as I’m trying to prevent any small holes showing in the heel.
This short row heel is a double wrapped short row heel.
So what is the purpose of a wrap and turn?
It helps prevent gaps (little holes) being created. When knitting short rows, you don’t knit across all the stitches in a row. You stop before the end and turn and purl back along the stitches. This is how the shaping for the heel is built up. This is a useful short video by Liat Gat from Knit freedom about doing wrap and turns.
How to Wrap and Turn (w&t)
Stephen West gives very clear instructions for wrap and turns in his Spectra Scarf pattern.
“Bring yarn to front as if you are about to purl, slip one stitch purl-wise. Turn work to other side. Strand of yarn is now in back of work. Bring yarn to the front, slip one stitch back to right needle. If the following stitches are purl stitches, continue to purl. If the following stitches are knit stitches, place yarn in back and proceed to knit those stitches.”
In the Knitters Book of Socks by Clara Parkes says:
“Lucy Neatby advises that you use 60 percent of your total stitches for short-row heels… Obviously, this becomes trickier if you’re following a complicated pattern that requires all those stitches to stay where the designer wanted them to stay…” – Clara Parkes
A problem with short row heels is that they can feel a little bit too shallow for comfort. As this sock is knit using stocking stitch I thought it was worth trying the heel using 60 percent of the stitches.
- For this sock with 60 sts divided over 4 needles, 60% of the sts means working the short row heel on 36 sts instead of the normal 30 sts.
Double Wrapped Short Row Heel
Don’t be afraid when it says double wrapped. It just means that a stitch that has been wrapped will be wrapped for a second time. When I first read double wrapped I thought “oh yipes!” but it isn’t so bad to do and creates a lovely heel. So really, you should try it.
Set Up Round
- K15 sts on needle 1, k12 sts on needle 2, slip 3 sts onto needle 3, k18 sts on needle 3, k15 sts on needle 4.
- Slip the first 3 sts from needle 1 onto the working needle. Then k2 sts onto needle 4, w&t the 3rd stitch.
- There will be 18 sts on needle 3 and on needle 4. The instep needles 1 and 2 have 12 sts on each of them.
From this point the heel is worked in knit and purl rows over needles 3 and 4.
- Row 1 (WS): p to last st, w&t
- Row 2 (RS): k to st before last wrapped st, w&t
- Row 3 (WS): p to st before last wrapped st, w&t
- Repeat rows 2 and 3 until 10 sts remain unwrapped.
- Row 4 (RS): k to first wrapped st, k wrapped st, w&t [the wrapped stitches will now have two wraps – they are double wrapped stitches]
- Row 5 (WS): sl 1, p to first wrapped st, p wrapped st, w&t
- Row 6 (RS): sl 1, k to first double wrapped st, k double wrapped st, w&t [remember when working a double wrapped stitch. pick up both wraps and work them together with the stitch which had been wrapped].
- Row 7 (WS): sl 1, p to first double wrapped st, p double wrapped st, w&t.
- Repeat rows 6 and 7 until one double wrapped stitch remains at each end of work.
- Final Row (RS): sl 1, k to double wrapped st, k double wrapped st. Do not turn the work.
Re-arrange the stitches equally onto the 4 dpns as before starting the heel. (15 sts per needle)
On the next row when you reach the gap, pick up a stitch in the gap and knit with the following stitch as a k2tog. This closes the gap.
Foot
Knit 43 rounds.
Toe
Set Up Round: The star toe requires an even number of stitches on each of the 4 needles. On the next round k2tog for the first two stitches on each needle. (14 sts per needle)
Star Toe
The star toe is easy to knit. The decreases are worked evenly around the toe.
- Round 1: k2tog, k5, k2tog, k5 on each needle
- Rounds 2-6: k
- Round 7: k2tog, k4, k2tog, k4 on each needle
- Rounds 8-11: k
- Round 12: k2tog, k3, k2tog, k3 on each needle
- Rounds 13-15: k
- Round 16: k2tog, k2, k2tog, k2 on each needle
- Rounds 17-18: k
- Round 19: k2tog, k1, k2tog, k1 on each needle
- Round 20: k
- Round 21: k2tog, k2tog on each needle.
8 stitches remain. Pull yarn through remaining stitches and tighten to close the toe. Weave in the end firmly.
Finishing
I washed and blocked these socks because I was going to be photographing them. I also do this if the socks I am making are a gift. But to be honest, if you have made them for yourself, just add them to your sock drawer. You’ll definitely want to wear them tomorrow. Excellent fit to these socks.
Related Rainbow Sock Collection Links
The photographs were taken at Fallowvee, near Waterfoot, Co Antrim, Northern Ireland. The photograph below is the view across Red Bay as the sun is setting.



Quando eu terminar o primeiro par, vou postar as fotos, ok?
Abraços e obrigada novamente!!
Ansiosos para ver o seu par acabado de meias. Tricô feliz!
(Look forward to seeing your finished pair of socks. Happy knitting!)
Quero te dizer que estou amando a coleção de meias Arco Íris!! Vou fazer todas!! Obrigada por nos ensinar!! Abraços.
“I want to say I’m loving the collection of socks Rainbow! I will do all! Thank you for teaching us! Hugs.” elzaguerra
Thank you for your kind message. I am so pleased that you are enjoying the Rainbow Socks. I’d love to see your socks when they are finished.
(Estou tão feliz que você está gostando das Meias do arco-íris. Eu adoraria ver suas meias quando estão acabados. Obrigado por seu comentário.)