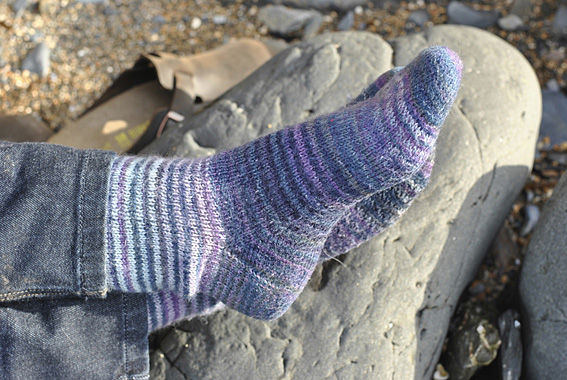
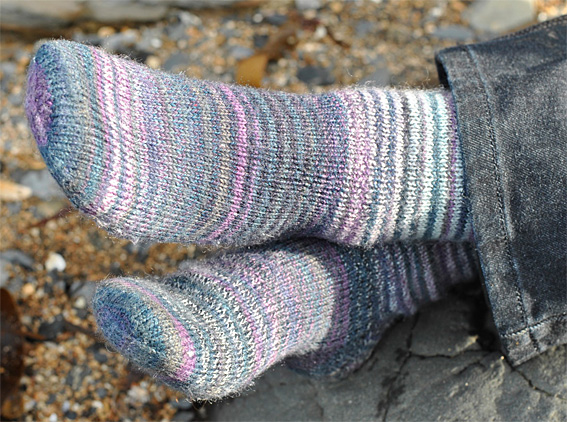
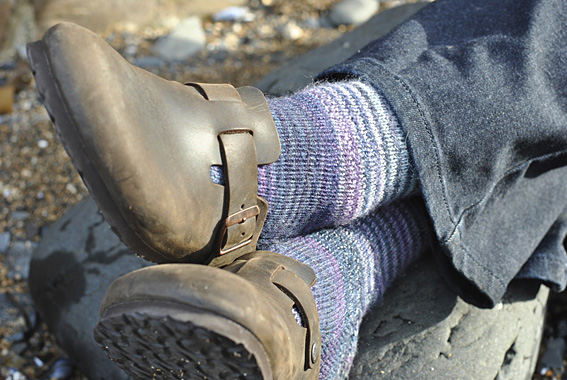
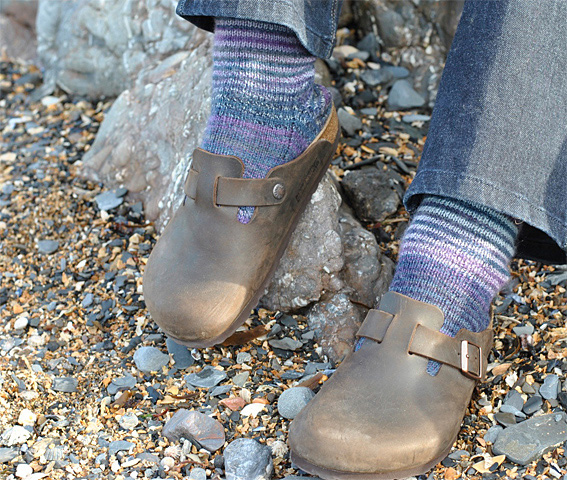
The ground here is covered in a thick layer of snow, piles of snow cover the pavements, and our neighbours have been digging their cars out of their driveways. The snow started falling last Friday, and we spent part of Saturday night with no electricity or central heating, with candles lighting the lounge. It made me think of the lovely sunny day a few weeks ago, when Neil photographed the Purple Blue Striped Socks at the Beach.
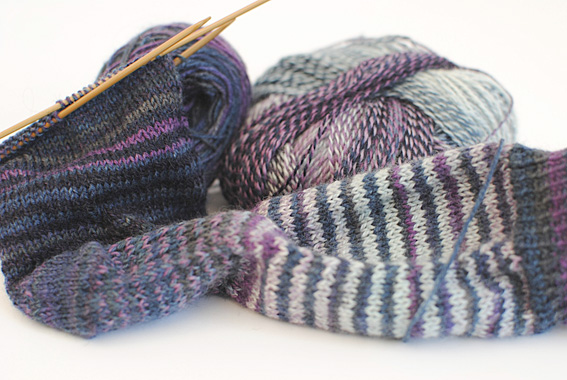
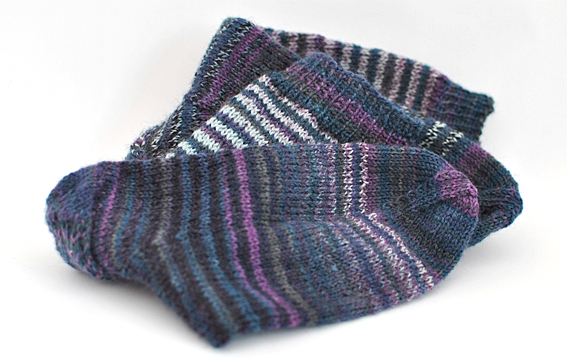
The easiest way to add interest to a basic sock pattern is to knit 2 row stripes. I love the way two different self patterning sock yarns can work together, particularly when they are from the same analogous colour scheme. I used two texturally different yarns to create the contrast between the stripes.
The Trekking XXL yarn from my stash is a deep graduating colour scheme through blue, purple and grey. The second yarn is one of my favourite Crazy Zauberball tweedy yarns in purples, mauves and teal. I love the way the two yarns worked together.
I started by casting on 60 stitches using the Trekking sock yarn and worked 14 rounds of knit 1, purl 1 rib using 2.75mm double pointed needles. I used my basic sock pattern but with a paired decrease toe instead and sight adjustments in row numbers to allow the striping to be correct on the complete sock.
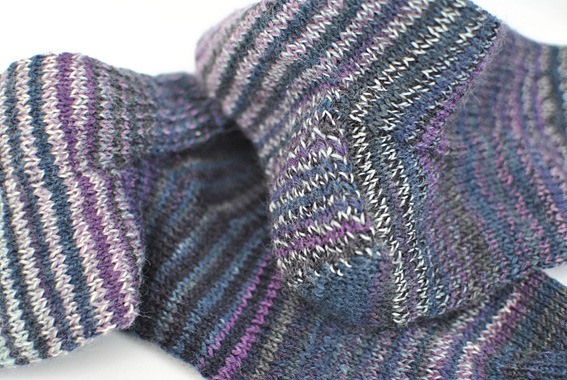
I changed to the Crazy Zauberball for knitting the first stripe on the leg. I knit 24 stripes, changing the yarn every 2 rows, and ending with a Crazy Zauberball stripe. I continued the stripes for the slip stitch heel flap ending with a Zauberball stripe and used the Trekking sock yarn for turning the heel.
I used the Trekking sock yarn to continue the stripe pattern for the gusset shaping and the foot, ending with a Crazy Zauberball stripe.
The toe was completely worked using the Trekking sock yarn. I chose to use the super comfortable paired decrease toe and changed to a slightly smaller 2.5 mm set of double-pointed needles.
To work the paired decrease toe:
Round 1 is the decrease round for shaping: Needle 1, k to last 3 sts then k2tog, k1; Needle 2, k1, ssk, k to end of needle; Needle 3, k to last 3 sts, then k2tog, k1; Needle 4, k1, ssk, knit to the end of the needle.
Rounds 2, 3 and 4: Knit
Round 5: Repeat round 1 the decrease round
Rounds 6 and 7: Knit
Rounds 8 to 10: Repeat rounds 5, 6 and 7 once
Rounds 11: Repeat round 1 the decrease round
Round 12: Knit
Round 13, 14, 15 and 16: Repeat rounds 11 and 12 two times.
From round 17 work the decrease round on every round until there are 2 stitches on each needle. Next slide the stitches from Needle 2 onto Needle 1, and the stitches from Needle 4 onto Needle 3.
I used kitchener stitch (these instructions by Theresa Vinson Stenersen for Knitty are wonderful) to graft the toe stitches together. I like the way this looks and feels when I am wearing the socks. But if you don’t like grafting, it is fine to gather the remaining stitches tightly and sew in the end firmly.
Interesting Information
- Why Using Sock Yarn is Worthwhile
- Kitchener Stitch (these instructions by Theresa Vinson Stenersen for Knitty are wonderful)


I'd love to hear from you. Let me know what you think...